Geography Reference
In-Depth Information
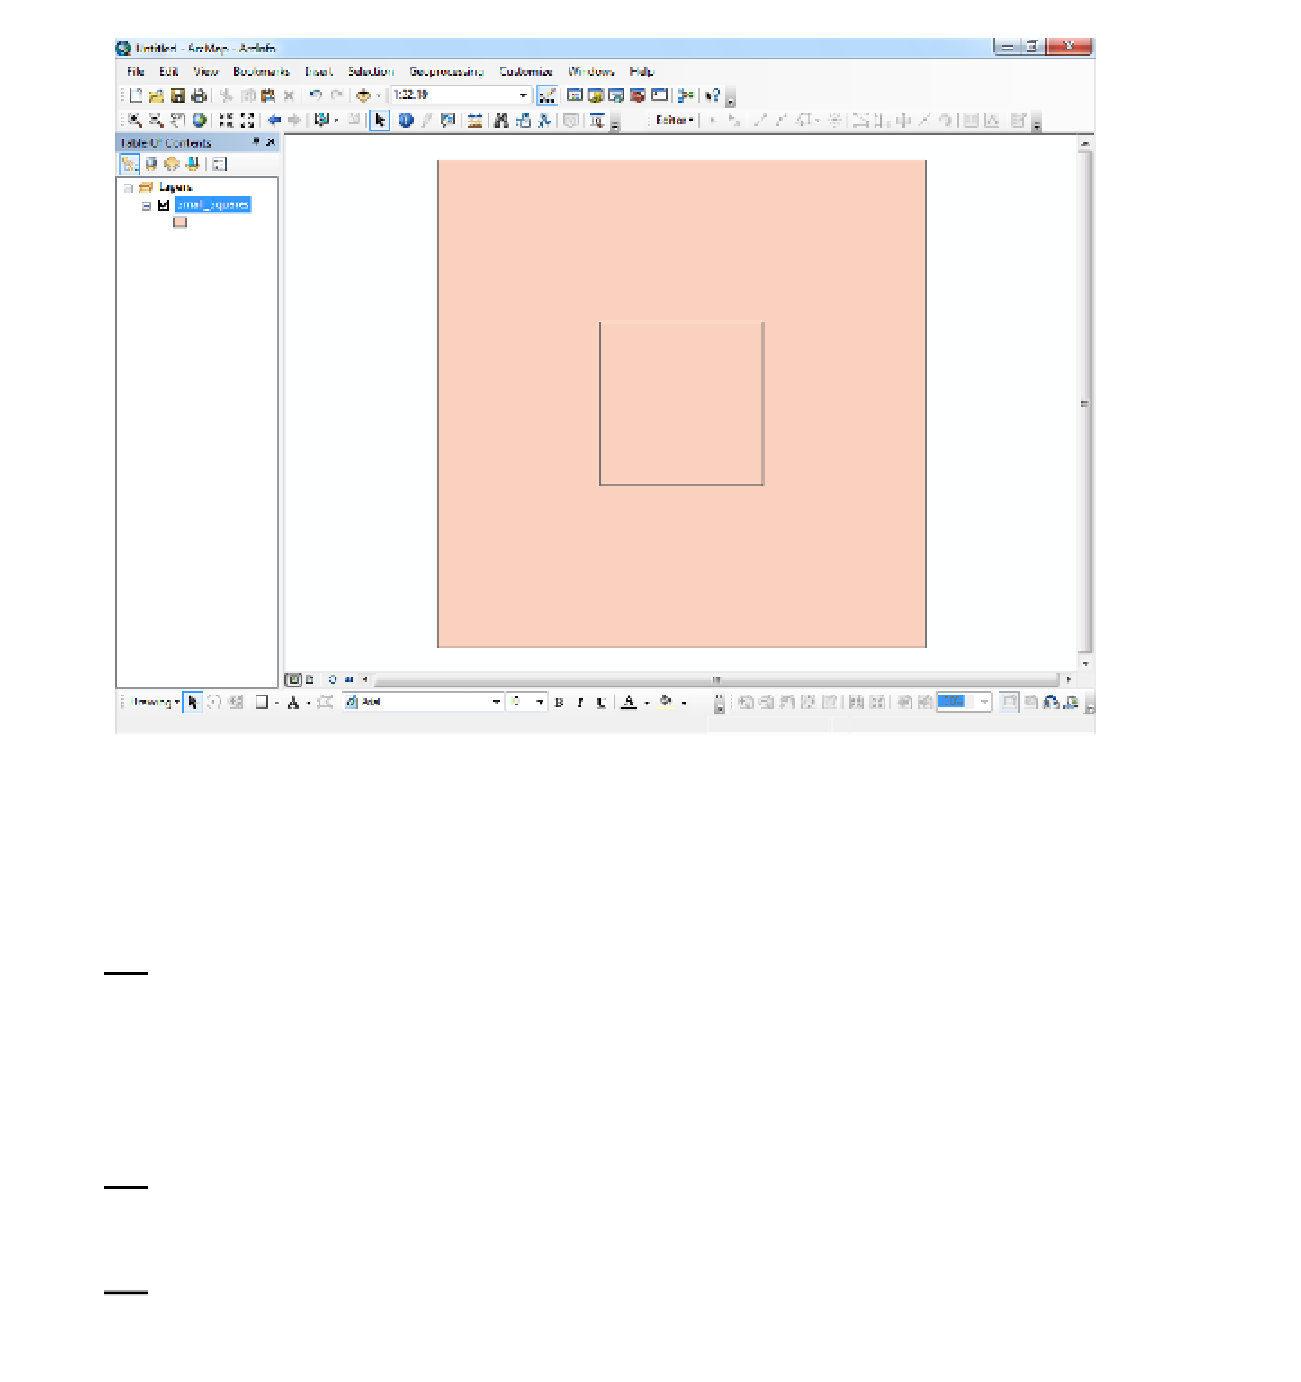
FIGURE 5-13
(If you have problems: If an unwanted polygon is already completed, you can delete it by clicking the
Edit tool, clicking the offending polygon, and pressing Delete (either on the keyboard or on the Standard
toolbar).)
7.
Click the Sketch tool again. Make a square 1 meter on a side whose southwest corner is at
500001 and 6200001, which places it inside the square you just made. Don't forget to finish
the sketch. Save your edits and stop editing. The image should look like Figure 5-13. Dismiss
ArcMap.
Making Copies of the Feature Class
8.
Using ArcCatalog, in the Catalog Tree, highlight Small_Squares. Press Ctrl-C. Highlight UTM_
Zone_2. Press Ctrl-V. Okay the Data Transfer Window. Check that Small_Squares_1 has been
added to the Catalog. Also make Small_Squares_2.
9.
Examine the geography of Small_Squares. What you are seeing is a larger square with a small
square
laid on top of it
. Esri refers to these features as non-planar. By this it is meant that
these features do not tessellate a plane. That is, here it is not the case that the larger square


Search WWH ::

Custom Search