Geography Reference
In-Depth Information
Click the Input Features text box and the help pane changes to provide information about that
field. Press the Tool Help button. That takes you to the appropriate place in the ArcGIS Desktop
Help system. Peruse and dismiss.
10.
Back in the Add XY Coordinates window, what you want to do is add the coordinates to the
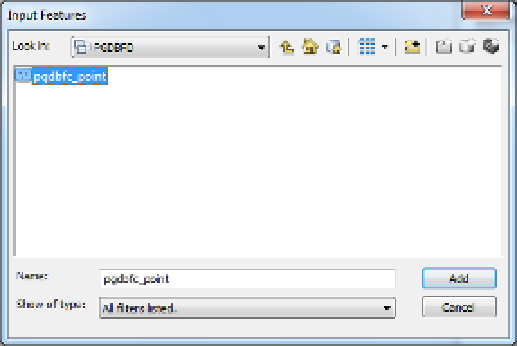
pgdbfc_point feature class attribute table. So browse using the little yellow folder next to the
Input Features text box to
___IGIS-Arc_
YourInitials
\Trivial_GIS_Datasets
\PGDB.mdb\PGDBFD\pgdbfc_point.
Highlight pgdbfc_point to bring it into the Name text box. The Input Features window should look like
Figure 4-16.
FIGURE 4-16
11.
Press Add. Then press OK on the Add XY Coordinates window. The box disappears and
computation proceeds. A scrolling message may appear on the Status bar, next to the
coordinates. When the processing is done, a message window will appear in the lower-right
corner of the desktop, announcing that the tool has successfully run. You can click on the name
of the tool in that message to display a Results window, which shows the input and output.
Also, there should be a green check mark next to the operation you just performed. If there
is a red circle with a white x, the process failed. Read the reason why the tool failed and, if it
reads
“ERROR 000464: Cannot get exclusive schema lock. Either being edited or in use by another
application”
close ArcCatalog (or the ArcCatalog sidebar) and try again in ArcMap.
12.
Open again the attribute table of pgdbfc_point. List the names on the column heads.
________________, ________________, ________________, ________________. Zoom the
map to full extent. Use Select Features to select a point. Use Identify on that point and note


Search WWH ::

Custom Search