Geography Reference
In-Depth Information
13.
Make the POINTS data frame active. Drag the handle in its lower-right corner towards the upper-
left corner, reducing the size of the data frame. Make its location the upper left portion of the
layout, below the title.
14.
Drag a box around the legend, north arrow, scale bar and text, selecting all of those elements
together. Drag the whole works to the lower-right bottom corner of the map sheet, pretty much
on top of the ALL data frame. Select the ALL data frame and drag it to the lower-left corner of
the layout.
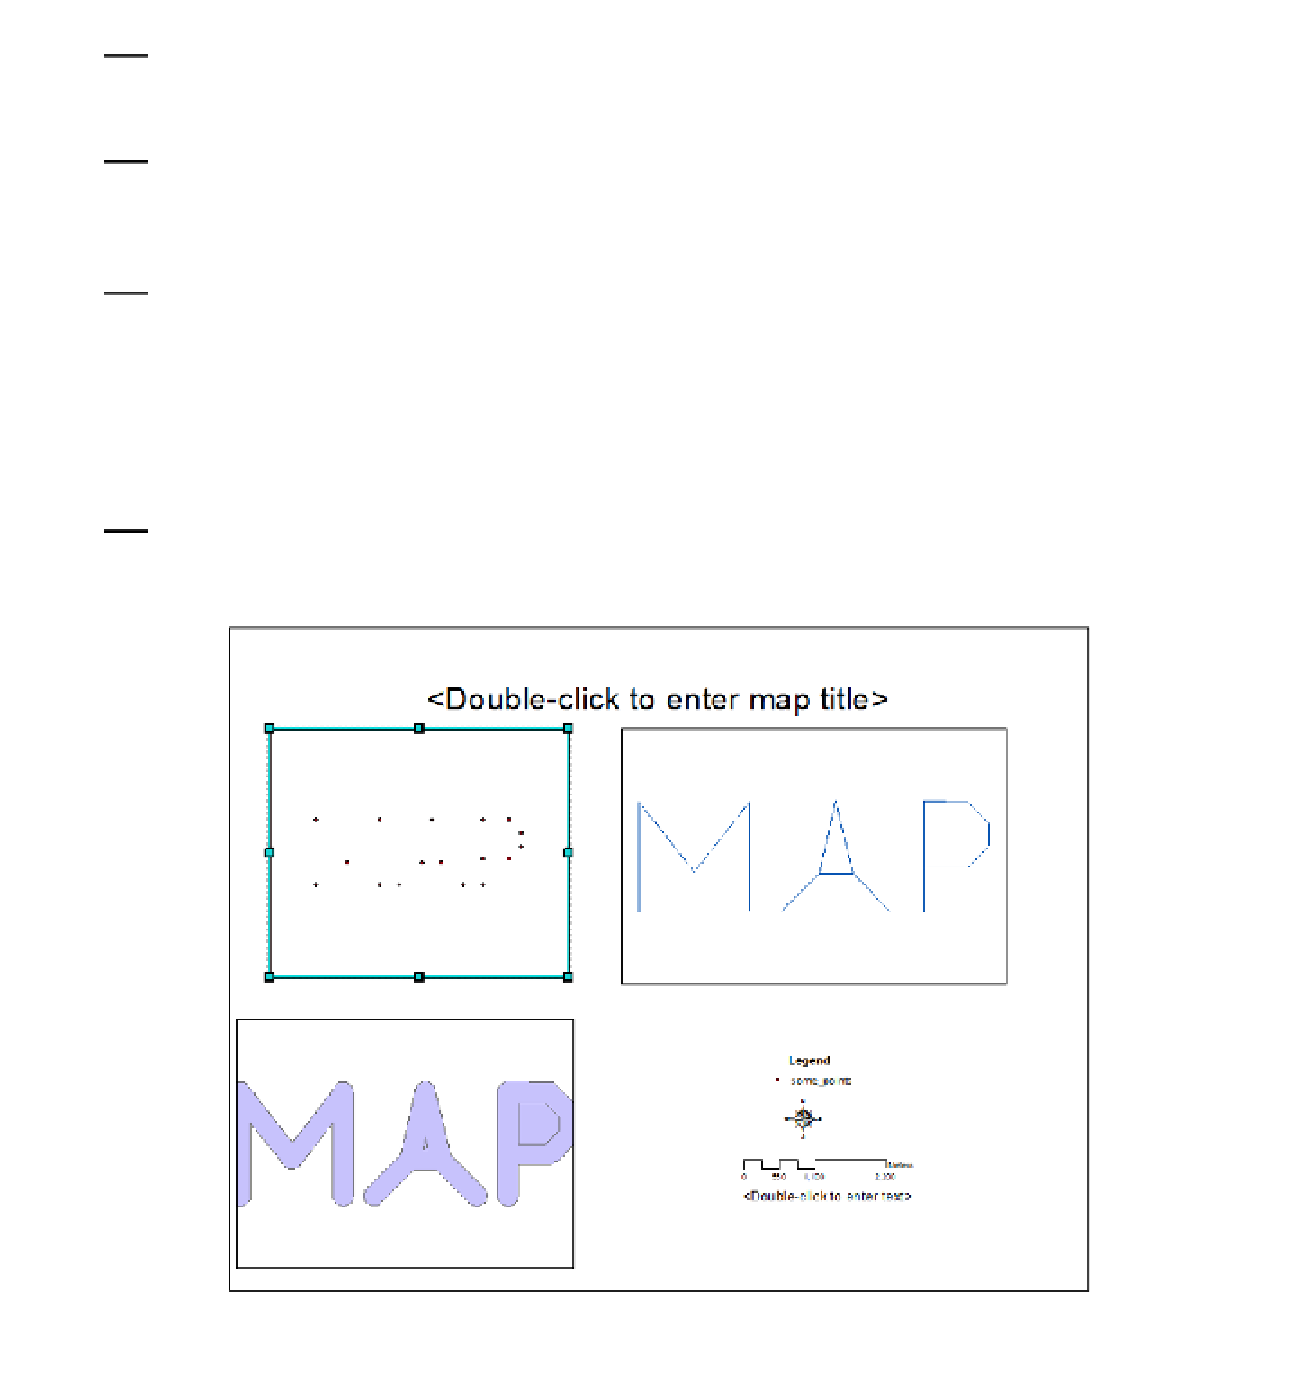
15.
Using the tools you just learned about, move and resize the three maps so that the boxes
around the data look approximately like Figure 3-6. Don't worry if the geographic elements don't
seem to be the right size. (If a data frame doesn't appear to contain all the data, right-click on
its dataset and zoom to layer.)
Recap: When you see several data frames in the Layout View, you may click in any one of them to make it
active. Your choice will be reflected by the bold font in the T/C and the look of the data frame (with blue
handles or dashed lines) within the layout space.
16.
Click the POINTS data frame, in the map pane, to make it active. Check the T/C for the bold
font. Notice also that the Map Scale text box on the Standard toolbar reflects the scale of the
map in the data frame.
FIGURE 3-6


Search WWH ::

Custom Search