Database Reference
In-Depth Information
As per the scenario on the specifications discussed previously, let's move on to the
Recovery process.
1.
By default, the Automatic Failover is enabled in the clustering, which is activated
when a resource failure is detected. The failover follows from the
DBIACL01
to
DBIACL02
.
2.
If the Automatic Failover is not selected, then on the
DBIACL02
node using the
Cluster Administrator snap-in, right-click on DBIACL01 node and click Evict Node to
evict the node.
3.
Verify that the DBIACL01 node has been evicted from the cluster definition.
4.
Repair the computer (node
DBIACL01
) by re-installing the operating system to
replace the corrupted operating system.
5.
Ensure the existing failover cluster administrator account has the required permission
on the DBIACL01 computer.
To update or remove an SQL Server failover cluster, the
account must be a local administrator with permission to log
in as a service on all nodes of the failover cluster.
6. Run SQL Server setup on the
DBIACL01
computer to a add node to the failover
cluster. (Refer to
Installing
and
configuring
failover
clustering
services
recipe for the
relevant steps).
7. Using the Cluster Administrator snap-in, ensure that node DBIACL01 is added by
checking the properties of the added node.
8. As per the scenario, and the two specifications discussed previously, let's move on to
the Recovery process. In continuation to scenario one, the active node is
DBIACL02
.
9. As per the current scenario and by default, the Automatic Failover is enabled in the
clustering, this is activated when a resource failure is detected. The failover follows
from the
DBIACL02
to
DBIACL01
.
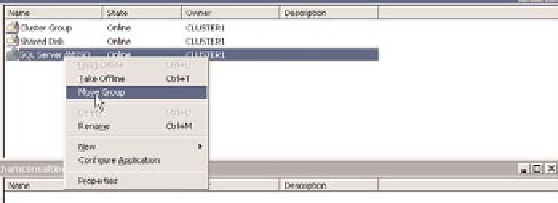
10. If automatic failover is not selected, then on the DBIACL01 node use Cluster
Administrator snap-in, right-click the DBIACL02 node and click Move Group to move
the resources from the current failed node.


Search WWH ::

Custom Search