Java Reference
In-Depth Information
■
You will need to download and install oracle's open source JavafX sceneBuilder 2.0 from
through the examples in this chapter. We also highly recommend configuring your favorite ide to use JavafX sceneBuilder 2.0 to
edit fXMl files. netBeans and intelliJ idea come bundled with JavafX support. eclipse users can install the e(fx)clipse plug-in.
once configured, you can right-click on any fXMl files in your projects in your ide and select the “edit with sceneBuilder”
context menu item. of course, you can also use your ide's XMl file editing capabilities to edit fXMl files as XMl files.
Note
Setting the Stage with FXML
The process of converting the StageCoach program in Chapter 2 from using a programmatically created UI to using a
declaratively created UI is straightforward.
Creating a User Interface Graphically with JavaFX SceneBuilder
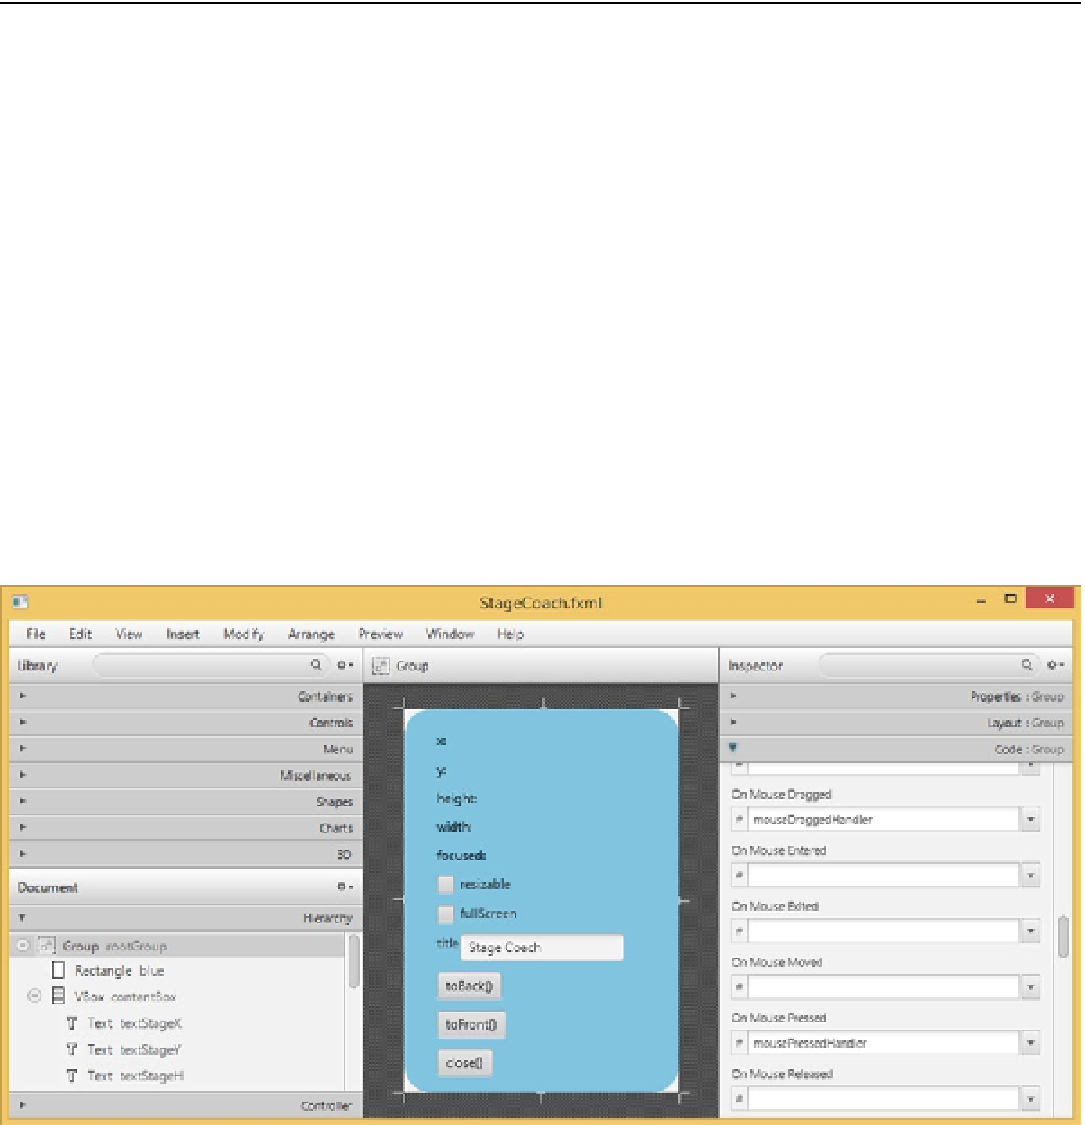
We first created an FXML file that represented the root node of the scene with JavaFX SceneBuilder. Figure
3-1
shows a
screenshot as this UI is being created.
Figure 3-1.
StageCoach.fxml
being created in JavaFX SceneBuilder
We will go into details of how to use JavaFX SceneBuilder in the latter half of this chapter. For now, simply
observe the major functional areas of the tool. In the middle is the Content Panel showing the look of the UI being
worked on. On the left side are the Library Panel at the top, which includes all the possible nodes that can be used
in the Content Panel divided into neat subsets such as Containers, Controls, Shapes, Charts, and so on, and the
Document Panel below, which shows the scene graph that is being worked on in the Content Panel as a tree structure
Search WWH ::

Custom Search