Hardware Reference
In-Depth Information
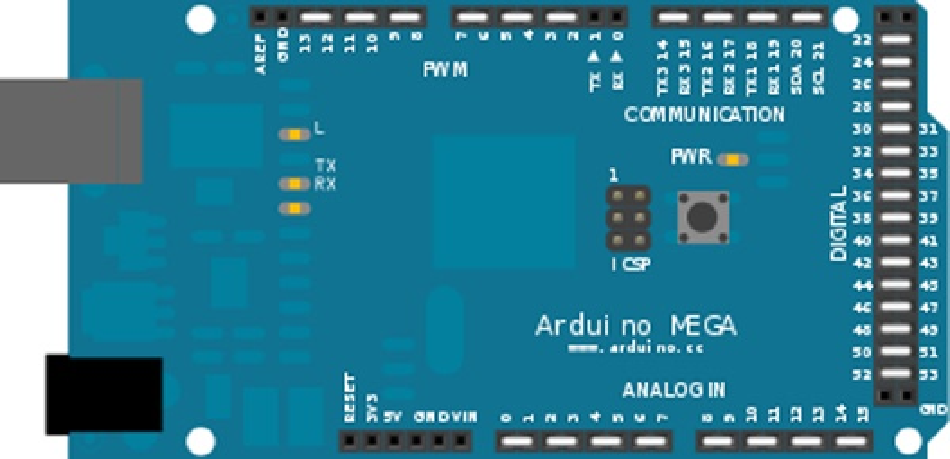
Figure 13-4.
Arduino Mega test wiring
Strategies for Testing Your Own Arduino Derivative
The Arduino Test Suite contains all the necessary tests to verify that your board is fully functional. For creating a custom
board to be compatible with the Arduino Uno or Mega pin layout, the Arduino Test Suite contains the
ATS_General
test.
This test checks all the features of these two boards, including digital pins, PWM, analog read/write, EEPROM, tone,
and serial RX/TX. If your custom board can pass these tests, then the board is pin-for-pin and feature compatible.
You can save time and money by identifying problems early.
The
ATS_General
test requires that you wire the pins in a specific way. The digital I/O pins are tied together, the
analog read/write pins are tied together, and serial RX/TX pins can also be tied together. For a board with only one
serial port, you will want to skip the RX/TX test. This is detected in the current
ATS_General
test.
You would use the same wiring options like we've done with the Arduino Uno board in Figure
13-3
. You would be
configured for testing. You can do something similar for your own board.
Memory Testing
The Arduino Test Suite provides a test for checking the amount of free memory available. This function is particularly
useful for checking how much memory is being consumed and if it is being returned after use. You can find out how to
use this function by studying the tests. This section will look at a subset of these tests and then demonstrate using this
function to track memory usage and create a test that involves memory use. Listing 13-6 shows the code that we will
examine. The complete test is part of the ATS examples. We will look at three tests:
testAllocatingThenDeallocatingPreservesFreeMemory();
•
testAllocatingAndDeallocatingSmallerPreservesFreeMemory();
•
testRepeatedlyAllocatingAndDeallocatingMemoryPreservesFreeMemory();
•

