Hardware Reference
In-Depth Information
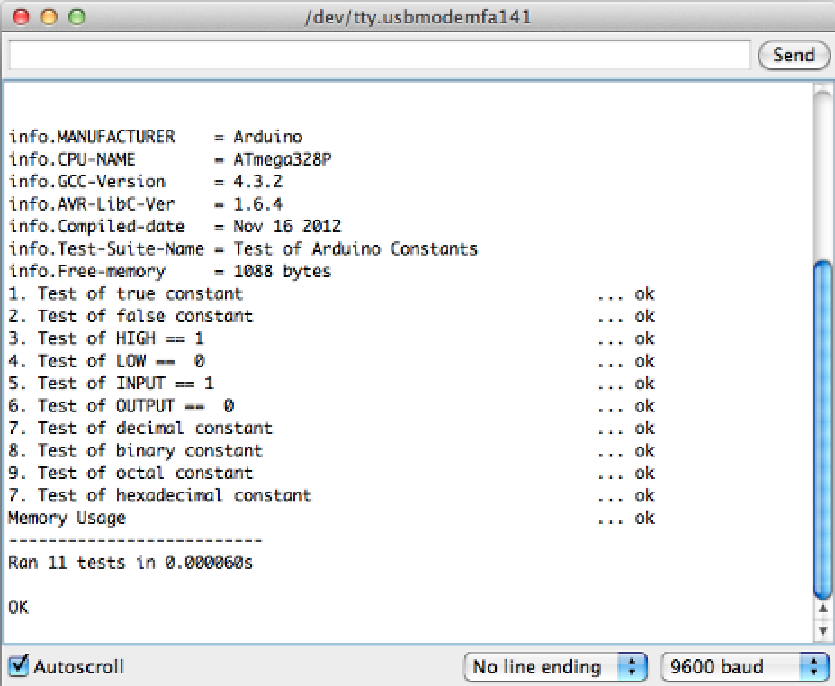
Figure 13-2.
Arduino test results
Figure
13-2
shows the results of 11 tests, all which passed with an OK. If any of these tests fail, something is likely
wrong with your Arduino environment, since the constants should always be defined. Now you are ready to run the
example tests and create your own tests.
Getting Started with Testing
Testing Arduino helps to verify your hardware configuration and the logic of your software, and ensures that your
Arduino-inspired board works exactly as expected. To begin, brainstorm the things that you want to test. Create a list
and focus on one area at a time. It is effective to number the tests in your sketch and systematically work through each
area. Each test you create should test one condition and verify the pass or fail result. In some cases, a function or a value
is supposed to have false value as an expected result to be the success if the output is correct it's considered a success.
Within the Arduino community, it is common to use examples instead of tests. Examples function similarly to
tests, but while a test results in either pass or fail, an example allows you to compare what you thought would happen
to what actually happens. There are many reasons for testing, including debugging code and observing the behavior
of a remote control or line-following robot. Even more importantly, when we create libraries to share with others,
we want to ensure that the code works and is easy for people to use. The goal of the Arduino Test Suite is to convert
examples into official tests, which you can distribute with your libraries and sample codes, allowing others to learn
from them. When someone files an issue against your code, they (or you) can add a test that shows where and how the
problem was fixed.