Hardware Reference
In-Depth Information
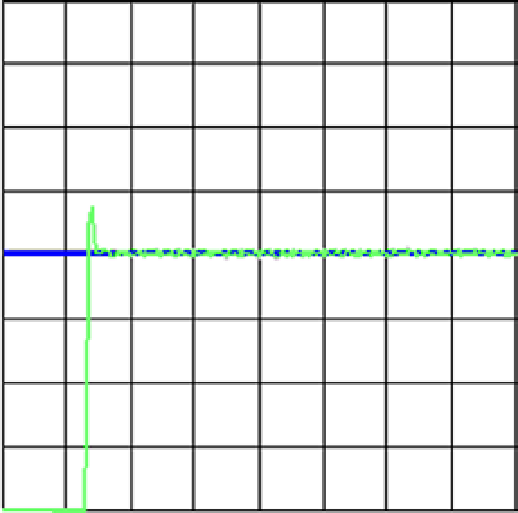
Figure 7-7.
A full PID controller using an Arduino and an RC low-pass filter, with the following gains: Kp = 1.5, Ki =.8,
and Kd = .25
PID Library
There is a user-made library available from Arduino Playground that implements all the math and control for setting
up a PID controller on an Arduino (see
www.arduino.cc/playground/Code/PIDLibrary/
)
. The library makes it simple
to have multiple PID controllers running on a single Arduino.
After downloading the library, set it up by unzipping the file into the Arduino
libraries
folder. To use a PID
controller in Arduino code, add
#include <PID_v1.h>
before declaring variables
Setpoint
,
Input
, and
Output
. After
the library and variables are set up, you need to create a
PID
object, which is accomplished by the following line
of code:
PID myPID(&Input, &Output, &Setpoint, Kp, Ki, Kd, DIRECT);
This informs the new
PID
object about the variables used for
Setpoint
,
Input
, and
Output
, as well as the gains
Kp
,
Ki
, and
Kd
. The final parameter is the direction: use
DIRECT
unless the system needs to drop to a setpoint.
After all of this is coded, read the input before calling the
myPID.Compute()
function.
PID Library Functions
Following is a list of the important basic functions for the PID library:
PID(&Input, &Output, &Setpoint, Kp, Ki, Kd, Direction)
: This is the constructer
function, which takes the address of the
Input
,
Output
, and
Setpoint
variables, and the
gain values.
•
Compute()
: Calling
Compute()
after the input is read will perform the math required to
produce an output value.
•
SetOutputLimits(min ,max)
: This sets the values that the output should not exceed.
•

