Hardware Reference
In-Depth Information
Chapter 3
A Simple Temperature Sensor
Unlike a standard computer, the Raspberry Pi is unlikely to alter the temperature of your room (well, unless you
have a cluster of them: then you may have heat issues). It's widely known that high temperatures can affect your
computer. Nowadays most new machines have protection circuits to ensure that they do not let the magic smoke out,
although this has not always been the way with electronics in computers. Not so long ago, if you seated your heatsink
incorrectly you were more than guaranteed to let the magic smoke out, usually with a loud bang or a lot of smoke
(see Figure
3-1
for the results).
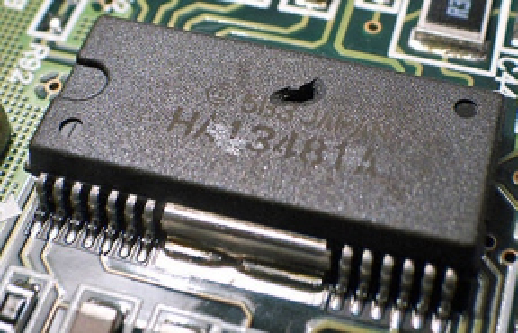
Figure 3-1.
Someone let the magic smoke out!
I am sure most people will know someone or have heard of someone who had seated a heatsink incorrectly on
socket A of the AMD Athlon. That never ended well, given the heatsink had no thermal shutoff; more often than not it
simply exploded. In addition to this, the CPUs of the late 90s often did not have the advanced temperature monitoring
that you see today. A lot of the time the temperature was measured with a simple thermistor placed in the bottom of
the socket, which made it a little hard to know when the CPUs were getting a little too hot because you were never
measuring the actual core temperature. That's why it was important to have an external sensor if you wanted a good
idea of the temperature. Nowadays this is less of an issue, so this chapter will look at monitoring the temperature of
your room or some other space like inside a rack, for example (or your cluster of Raspberry Pis). The Raspberry Pi as
it comes has no way for you to monitor an external temperature source. There is no sensor on board like you often see
on common motherboards. The only temperature you can measure is the internal graphics processing unit (GPU)
that is part of the SoC. That won't be very helpful to you for reading an external temperature.