Hardware Reference
In-Depth Information
Raspberry P
26
25
Vcc
24
22
23
21
3.3v
ds1307
37.2kHz
1
3
7
6
5
X1
VCC
SQW/OUT
SC
L
SD
A
20
18
16
19
17
15
2
3
4
X2
vBATTERY
GND
14
13
12
10
8
6
11
9
7
5
GND
3.0v
12
4
2
3
1
Figure 8-13.
Circuit schematics
Armed with the above information and your data sheets, you're now ready to do the final assembly. I like to do
the power circuits first, although it won't matter what order you do them in.
1.
Connect 3.3 V to pin 1.
2.
Connect the ground to pin 4.
3.
Connect the ground from the battery to the same ground bar.
4.
Connect pin 3 to the positive terminal of the battery.
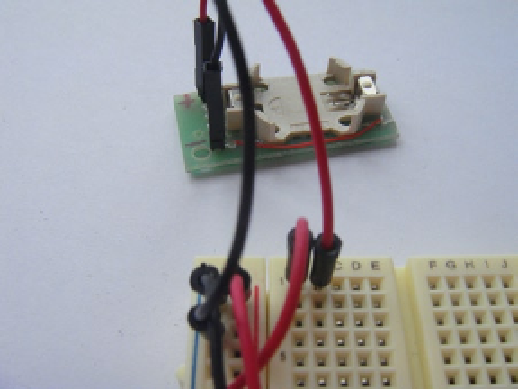
That's it for the power sources: you could do all this from the Raspberry Pi if you wanted to. You can see the
completed power circuits in Figure
8-14
. I have opted for an external power source but there is nothing stopping you
from using the 3.3-V source and ground source of the Raspberry Pi.
Figure 8-14.
Power circuits installed