Hardware Reference
In-Depth Information
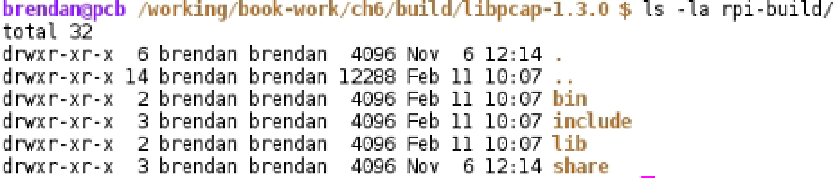
Figure 6-17.
My populated build directory
There is a good reason why I am showing you my build directory. When you compile more applications that
have more dependencies, you need a clean way to find them all. Change into the
libpcap
directory; it's now time to
start the build. Because I won't be installing
libpcap
onto this machine I like to create a build directory: this way I
can use the
make install
tool. I have called this directory
rpi-build
; you will need to create this directory under the
libpcap
directory. Once you have done that it's time to run the
configure
command again. The full command looks
something like this:
# CC=arm-unknown-linux-gnueabi-gcc ./configure --host=arm-unknown-linux-gnueabi --with-pcap=linux
--prefix=/'pwd'/rpi-build
Let me explain the new options.
--with-pcap=linux
, tells
libpcap
what target operating system you are
building for. After all, you may be cross compiling
libpcap
to run on AIX, for example.
•
The first new option,
prefix=/'pwd'/rpi-build
, tells the configure tool where you want to
install the binary files and libraries when you run
make install
.
The configure process for
libpcap
should run pretty quickly.
Once again, you cannot allow errors in this stage. When you are certain your configure stage is error-free, run the
make
tool to build the source files. There is not much to be built for
libpcap
so this step should be quick. Lastly, install the
build into the
rpi-build
directory you created. You can do this with the
make install
command; note that if you had
not used the
prefix
option above, your build would be installed into your host system, which is not a good thing:
•
The last option you see,
# make install
Take a look at Figure
6-18
for an example of a finished build of
libpcap
.
Figure 6-18.
Libpcap installed into the rpi-build directory