Hardware Reference
In-Depth Information
Out
GND
3
2
VCC
1
Bottom of PIR
Figure 5-14.
The pin outs of the AMN31111
Whether or not you are using the AMN31111 make sure you check your data sheet: you may find something
interesting. Once the finial connections have been made, your breadboards should look like Figure
5-15
.
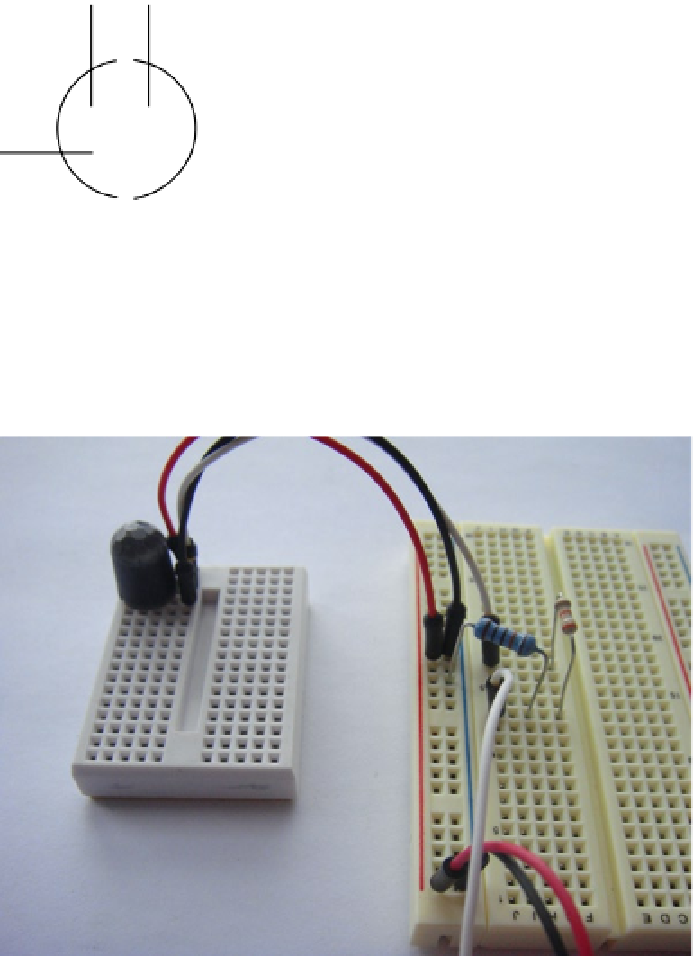
Figure 5-15.
Finished breadboards
Next up, you would need to access the sensor from the Raspberry Pi. This is achieved in a very similar way to the
pressure mat. First, export the GPIO pin that is working with P1-11 (GPIO-17):
# echo 17 > /sys/class/gpio/export
Next, set the type of the GPIO pin with this code:
# echo in > /sys/class/gpio/gpio17/direction
Now if you
cat
the value file you should see “1,” meaning that the sensor has detected someone. If you're seeing
“0,” wave your hand in front of the sensor; if that fails you have an error somewhere.