Database Reference
In-Depth Information
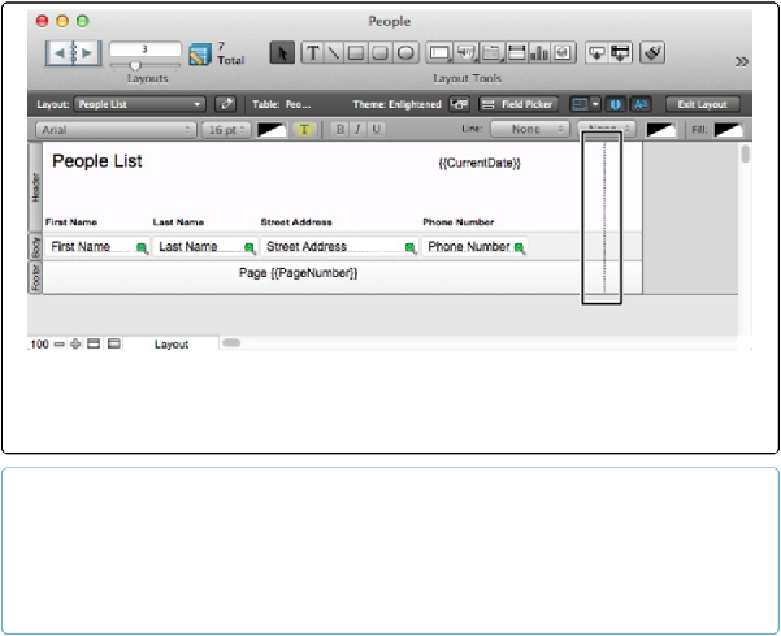
Figure 7-33. The page break line (circled) shows where your layout cuts off when printed. You can
now fill up your layout any way you choose, confident that it'll all print properly on anybody's
printer.
TIP
If you like working in points and don't want the bother of switching units, take heart. You can prob-
ably do the math in your head even faster. Remember, you have 72 points per inch: A one-inch mar-
gin would be 72 points, and a half-inch margin would be 36. (If you like centimeters, then figure 28
points per centimeter.)
Now that you've fixed the usable space on the layout, you can rearrange the fields so that
they fit nicely in the available width.
Columns
Occasionally your printed page needs to spread records across several
columns
. For example,
when you print on address label sheets, the sheets you buy usually have two or three columns
of labels on one page. Even when printing a List or Detail layout, if your data is narrow, then
you can save paper by printing two records side by side. FileMaker has a built-in solution to
just this problem: Choose Layouts→Layout Setup, switch to the Printing tab and then turn
on the “Print in” checkbox. When you do, you can tell FileMaker
how
many columns you
want by typing a number in the little entry box by the checkbox. When you turn on column