Database Reference
In-Depth Information
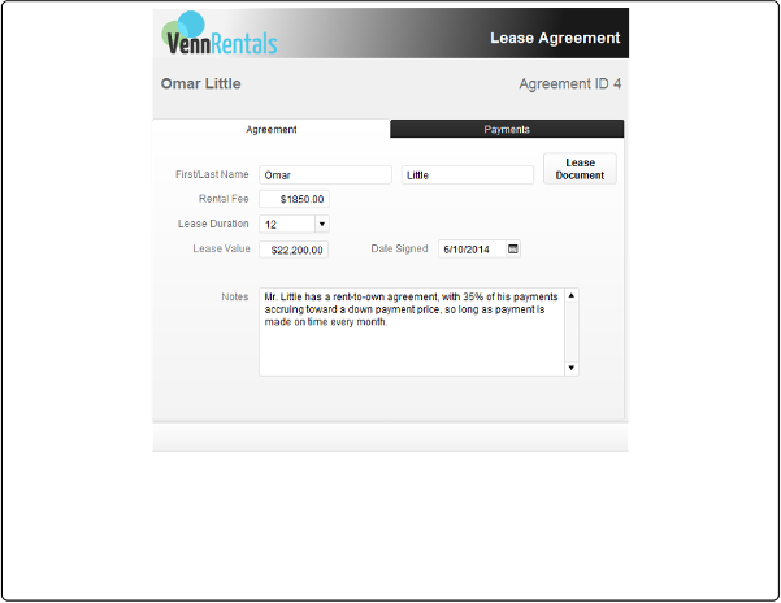
Figure 4-16. This version of the Lease Agreement layout has a large Tab Control covering most of
its area. The Tab Control has two tabs, with the existing fields divided among them. The Agreement
tab has the basic data, plus a Popover button for the Lease Document (more on popover buttons on
page 148). The Payment portal has been moved to the Payments tab. Check the finished sample file
to see what those tabs look like.
Next, follow these steps:
1.
In Layout mode, drag all of your fields and field labels over in the gray space to
the right so they're past the visible edge of the Lease Agreement layout
.
If you don't move your fields, the new Tab Control will be on top of them in the lay-
out's stacking order, and it won't be easy to select them afterward. Although you'd
think that the “Send to Back” command would fix things, it doesn't always, so it's just
better to empty out the space first.
2.
In the Status toolbar, click the Tab Control tool. (It looks like a tiny tab control,
with just one panel.) Then, draw a large tab control on the layout
.
It should be as wide as the Body part and nearly the height of the Body. Put the left
edge of the Tab Control on the left edge of the layout, and its bottom edge on the bot-
tom edge of the Body part. When you finish drawing, the Tab Control Setup dialog
box (
Figure 4-17
) appears.