Database Reference
In-Depth Information
If you turn on PHP, you'll have to choose between the FileMaker Server-supported version
of PHP or an existing version you may already have on your computer. Unless you have in-
stalled a customized, FileMaker Server-compatible version of PHP, you should always
choose the “Yes, install the FileMaker Server supported version of PHP” option. Click Next.
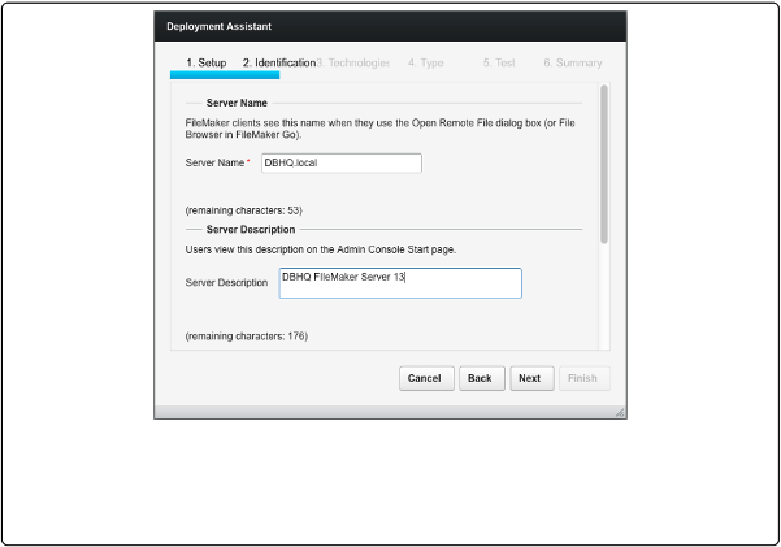
Figure 19-6. In the Identification section, you give your FileMaker Server a friendly name, which
people see in the Open Remote dialog box. You can also add a short description, which shows up
on the Admin Console page. Use this to remind you (or your administrators) where the server com-
puter is, what it's used for, or anything else useful.
The next screen (Type) asks whether you want to deploy the server components on a single
machine or multiple machines. The default choice is Single Machine, but if you chose a mul-
tiple machine installation, you'll have to tell the server where you put each component. Click
Next. The Deployment Assistant's Test page appears, which should tell you that the web
server test was successful. Click Next, You've finally made all the choices needed to get the
server running. FileMaker shows you one more page; it's a summary of the settings you
chose (
Figure 19-7
). You can use the Back button if you need to modify any settings.
When you're confident you have the server set up the way you want, click Next. The assist-
ant shows a Deployment Results window as it configures all the parts of your server. You see
the changes in the window as they occur. When it's done, you can scroll through an installa-
tion and configuration log or click Finish to see the Admin Console.