Game Development Reference
In-Depth Information
Notice that I changed the width and height of the bones in the Bone Object roll-
out to one instead of ten. Ten is entirely too big for this model. Now you are ready
start making bones.
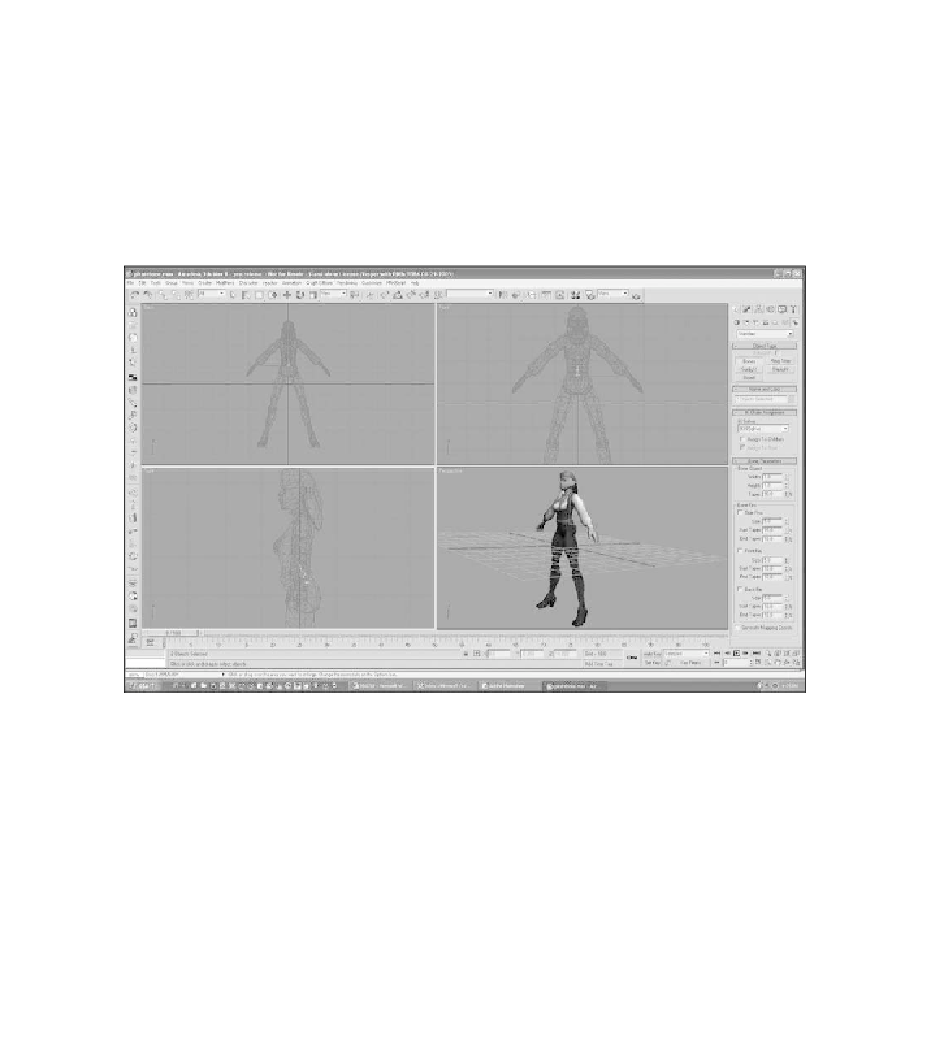
1. In the Side view, move your cursor over the pelvis area of the model and
click at the base of the spine, as shown in Figure 7.66. When you release the
mouse button, Bones plants a joint in the place where you clicked. Notice
that there is a bone now attached to the cursor. The next place you click on
the model will determine the location of the next joint.
Figure 7.66
Click to create the first joint.
2. Continue to build the spine of the character, placing joints up the spine and
ending at the base of the skull where the spine attaches to the head, as
shown in Figure 7.67. When you are finished placing bones, right-click to
end the chain. 3ds Max will leave a small stub at the end of the chain. Don't
worry about this stub right now. The stub is used for applying animation
helpers to the bone system. Bones are a hierarchical system. This means that
the first bone you place controls all other bones in the chain. If you pivot
the spine by rotating the first bone, all of the other bones will rotate with it.