Game Development Reference
In-Depth Information
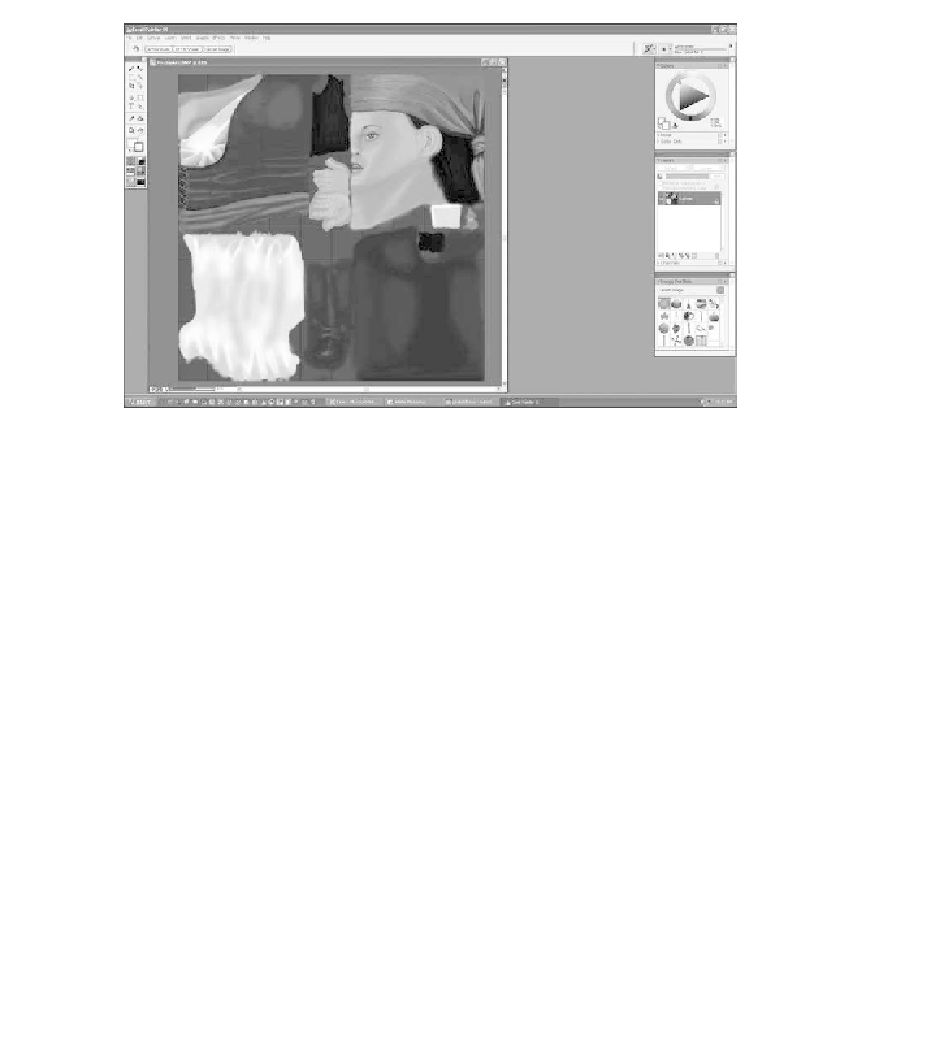
Figure 6.104
Paint each part of the texture map according to the guide.
Applying the Painted Texture Map
When the texture map is finished, you will need to load it into 3ds Max and apply
it to the model.
1. Bring up the Material Editor and select the Multi/Sub-Object Material
shader (see Figure 6.105).
2. Click on the first sub-material and go to the Maps rollout menu.
3. There will already be a map loaded in Diffuse Color because we loaded the
black texture earlier. Click on it.
4. Under Bitmap Parameters, click on the button that has the path to the
current bitmap.
5. Browse to the new texture map you just painted and load it. You will see it
in the shader sphere.
6. Now you will need to click on two icons in the icon row to apply the texture
to the model. First, click on the Apply Material icon, which is the third icon
from the left. Next, click on the View Material icon, which is the fourth
icon from the right. The face texture should now show up on the model
(see Figure 6.106). Alternatively, you can drag the material directly from
the Sample Slot to the object.