Game Development Reference
In-Depth Information
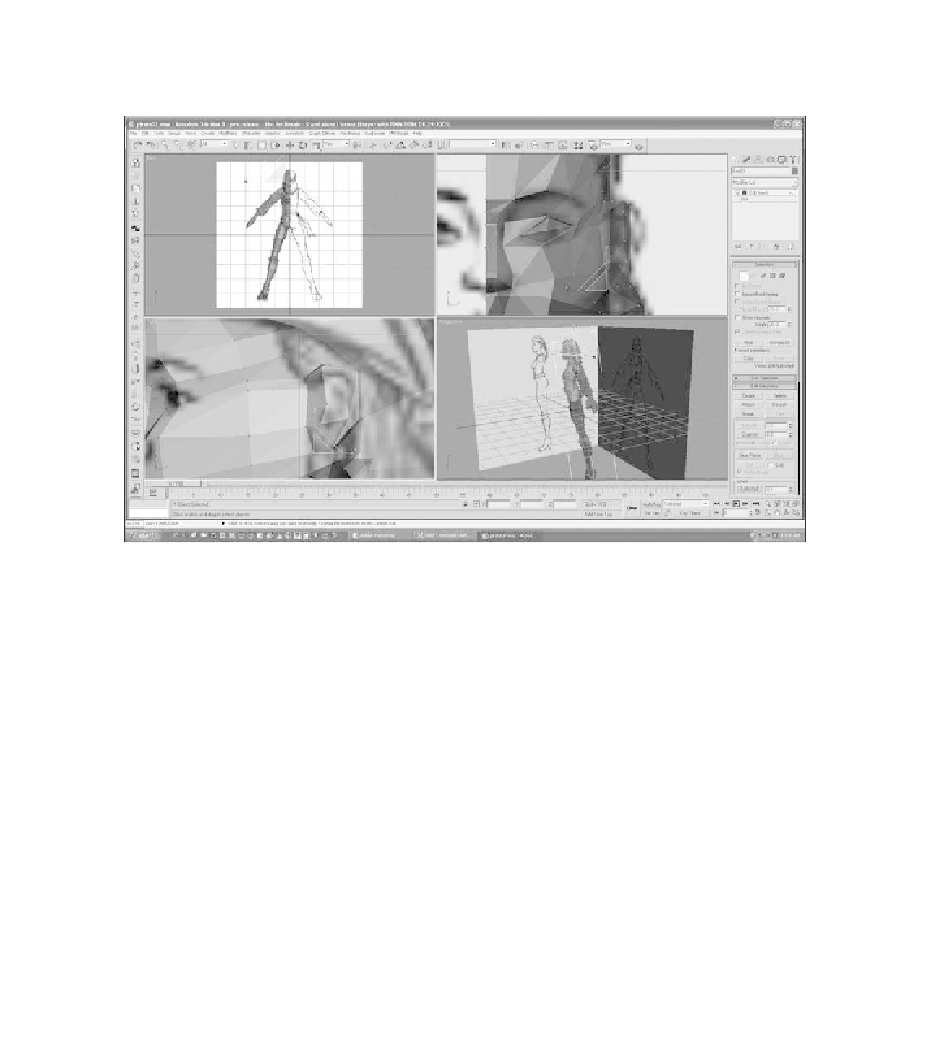
41. Snap the extruded vertices along the front of the ear back to the head and
weld them in place, as shown in Figure 6.74.
Figure 6.74
Weld the front vertices of the ear together.
42. Make an additional cut to help define the ridge around the inner ear and
adjust the vertices, as shown in Figure 6.75. For this and the next few steps
I turned off See Through so I could better see the shape of the model.
43. Select the polygons of the inner ear and extrude them in, as shown in
Figure 6.76.
44. Weld the vertices along the bottom of the extrusion and on the upper-front
of the ear. Refer to Figure 6.77 for how this should look. For games, only the
general shape of the ear is needed. Fully modeling the ear is unnecessary.
The head is now set up and ready to go. You are almost done with the model. Just
a few more things and you will be finished. Hang in there.