Game Development Reference
In-Depth Information
12. Now repeat this procedure for the main wing, except leave backface culling
on. Select the faces from the Top viewport, assign mustang.tif to the top of
the wing section top faces, and then do the same for the bottom (see Figures
4.79 and 4.80). Make sure you convert to Editable Mesh for each section
you are texturing; otherwise, you will have trouble getting the Unwrap
UVW selection to function. You won't need to reopen the Asset Browser
each time you repeat this procedure, either—just drag the material from
the Material Editor to each section as required.
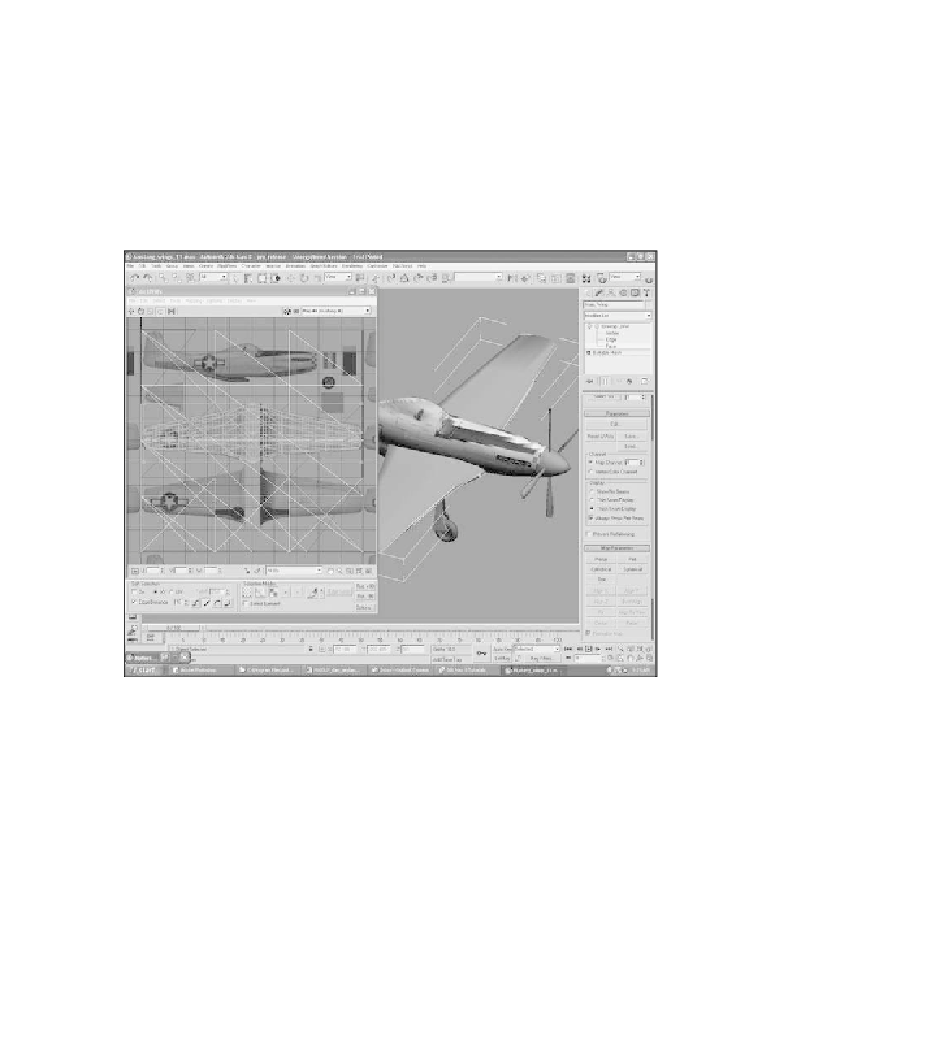
Figure 4.79
UVWs are assigned to the top half of the main wing in the Edit UVWs window.
Figure 4.81 shows a view with the main wing completed.
13. Continue assigning the materials to the various pieces of the model and
texture them accordingly. Figures 4.82 through 4.84 show examples of my
final model. Of course, the level of detail depends on how many polygons
and textures are allowed in a particular game.