Game Development Reference
In-Depth Information
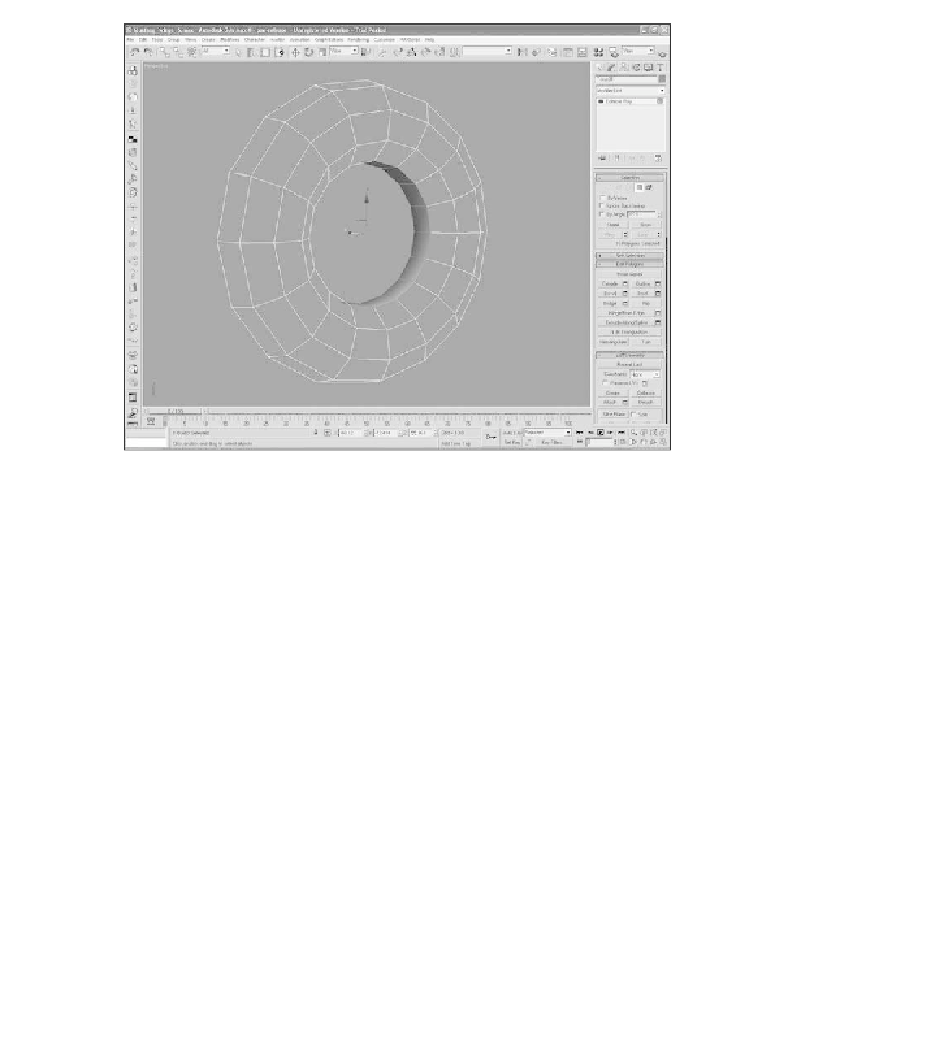
Figure 4.47
Select the polys for the rim.
3. Convert the torus to Editable Poly and select the Bevel command from the
Edit Polygons roll-down menu (see Figure 4.48). Use the setting 5.537 for
the height and -0.338 for the outline amount, and then close the window.
4. Select the vertices on either side of the axle at the center of the rim and
weld them into one vertex. Repeat this procedure for the other side. This
will collapse the inner vertices, making one on either side of the rim. Name
this Main Landing Gear Wheel.
5. Now for the strut. Create a cylinder using the following values (see Figure 4.49).
Height Segments: 5
■
Cap Segments: 1
■
Sides: 18
■
6. Move, rotate, and scale the vertices into their respective positions, checking
each in the Side, Front, and Top views (see Figure 4.50). Name this Main
Landing Gear Strut.