Hardware Reference
In-Depth Information
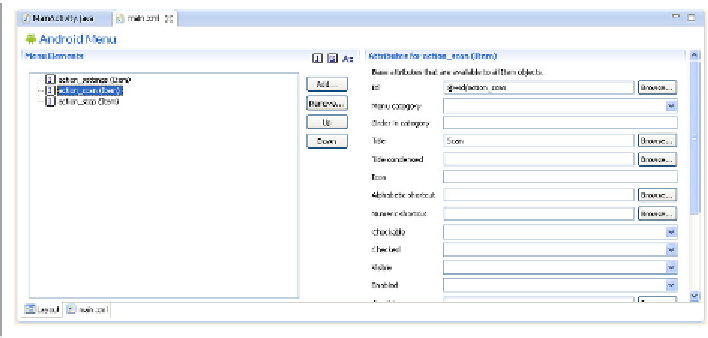
you to a GUI interface you can use to add menu items. Any menu item in the
main.xml
file will end up as a button in the Options menu. You're going to create two items, one
called Start and one called Stop, which will be used to start and stop the scan, respectively.
In the Android Menu GUI, choose Add→Item and use
action_scan
and
ac
tion_stop
for the names, as shown in
Figure 8-7
. These will be the IDs of the buttons
you can use when you write the click handler for the menu buttons. In the Title field of
the Menu item, type
Scan
and
Stop
, respectively, to supply the text that shows up in the
menu item.
Figure 8-7. Adding buttons in the Android ADT menu screen
Once the menu items are created, you're going to need to process the button-click events.
By default, the Android boilerplate code will use any items in
main.xml
as the Options
menu buttons. The boilerplate does not have a click handler, though, so you'll need to
add that in.
In Eclipse, if you type
onOptionsItemSelected
and press Ctrl+Spacebar, it should au‐
tocomplete the function, including the
@Override
keyword. You'll be overriding the
onOptionsItemSelected()
method to implement your own handler for click events.
When a click occurs on any item in the menu, the
onOptionsItemSelected()
method
gets called. Once you're inside the method, you need to have a switch statement to handle
the event based on whichever menu item was clicked. The pseudocode will look like
this:
@Override
public
boolean
onOptionsItemSelected
(
MenuItem
item
)
{
switch
(
item
.
getItemId
())
{
case
R
.
id
.
action_scan
: