Information Technology Reference
In-Depth Information
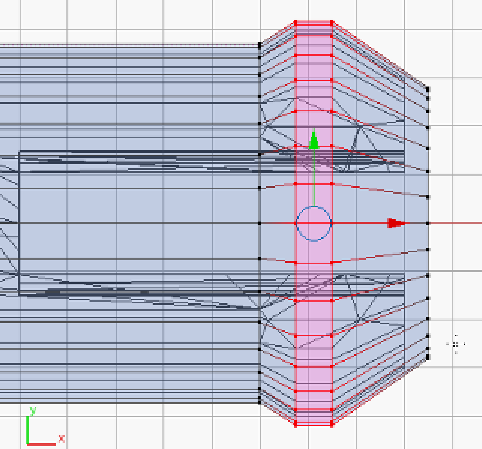
7.
Scale
(
S
) the end to about
6
units across.
8.
Deselect (
A
) and border select the second and third rows of points and
Scale
(
S
) them in all but the x axis (
Shift +
X
) until they are approximately
0.2mm wider than the bulges in the peg. The slopes of the shapes should
run parallel.
9.
When the shape is complete exit
Edit Mode
(
Tab
).
If at this point the peg or peg hole is less than perfect, and since this project is so
expansive, a version of the
Ch5 - peg.blend
can be downloaded from Thingiverse at
http://www.thingiverse.com/thing:90754
so that the rest of the project can be
completed without needing to backtrack.
Constructing a robot
The peg is done and its hole is defined. Now, to build something that will use them.
This new build will need the
PegHole
from the other project.
1.
Start a new project (
Ctrl
+
N
). Clear the scene and
Save
(
Ctrl
+
S
) this project
in the same directory as
Peg.blend
but name it
Robot1.blend
.
2.
In the Info panel on the top of the screen select
File
|
Append
or press
Shift
+
F1
.