Information Technology Reference
In-Depth Information
The straight pin connector used here is loosely based on a connector created by
Tony
Buser
on
Thingiverse
; modified to fit this project. This connector relies on the flexible
nature of the plastic to get the head into a smaller hole, until it is past the opening,
and can spring back to hold the part in place. When designing this sort of connectors
it is generally a good idea to lay them down so that the arms flex along the printed
layers and not across them, which might cause the layers to separate. Hence, instead
of trying to incorporate the pegs into the body, they'll be printed separately and
added afterwards. This increases the bulk of the robot because there needs to be
holes on both sides of the connections, but it does improve the reliability of the print.
This blueprint will rely heavily on exact object placement. This is also the largest
project in the topic, so remember to save frequently, and do incremental saves at
every new header section.
Making the connector
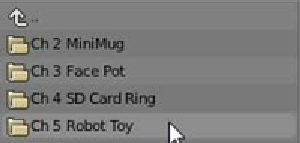
Start a new blender project, clear the workspace, and save the file. Create a new
directory under the
Makerbot Blueprints
directory in
Documents
called
Ch 5
Robot Toy
. Enter the directory and save this file as
Peg.blend
.
Instead of designing everything in one file in this project, multiple
files will be generated. This is a good way to keep parts organized,
and keep the outliner from being overrun with objects. This is
especially a good idea when the parts being designed might be
reusable in future projects.


