Graphics Reference
In-Depth Information
then drag the cursor diagonally across the image to reveal an oval mask
outlined by a rectangle selection box.
6
Once you've established the overall size of your Oval Mask (precision is
not important here), release the mouse to set the Mask.
Your finished Oval Mask will appear inside the Solid layer as a thin path with
four small square handles tracing the perimeter of the solid color oval. Don't
worry if it's not placed correctly, that's what the next section fixes.
Masking - Part 3: Adjusting Masks
To adjust your mask's size and position after you've set it, you can activate a
transform box around the mask. But to adjust a mask you need to select the
mask (if it's not already selected).
7
Select the layer with the Mask, then press 'M' to open the Mask Shape
property in the Timeline Window.
8
Click on the
Mask's name
(Mask 1) to
select the Oval
Mask, then press
'Ctrl
T' to
activate the
transform box
around the Oval
Mask.
9
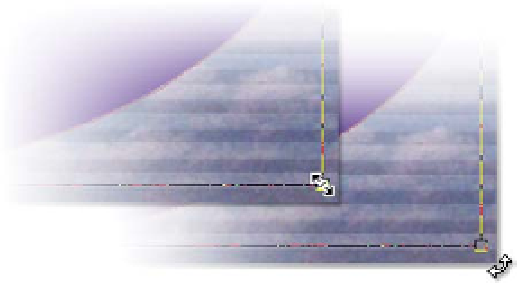
Move your mouse cursor over the handles to adjust the individual
corner positions, or click and drag inside the whole transform box to
move the entire mask (see above). You can also click and drag outside
the transform box to rotate a mask.
Adjust the Oval Mask's transform box to keep the blue oval inside the Comp
Window's screen, but make it slightly smaller than the overall picture size. Once
placed where you want it, double-click inside the transform box (or press
'Enter') to set the mask. There's one small problem, however - the mask


