Graphics Reference
In-Depth Information
inside. This is the Anchor Point of the layer and
it's moved by using a different cursor tool - Pan
Behind (Y).
This tool is used in both the Comp Window and
the Timeline Window. By clicking on the Anchor
Point inside the bounding
box (seen right) you can
reposition the layer's locus to
anywhere you need. This
allows the user to make
layers rotate like a movie
clapperboard or 'stretch and
squash' from one corner of
an image. This can also be
animated in the Timeline under the layer's Transforms
Anchor Point.
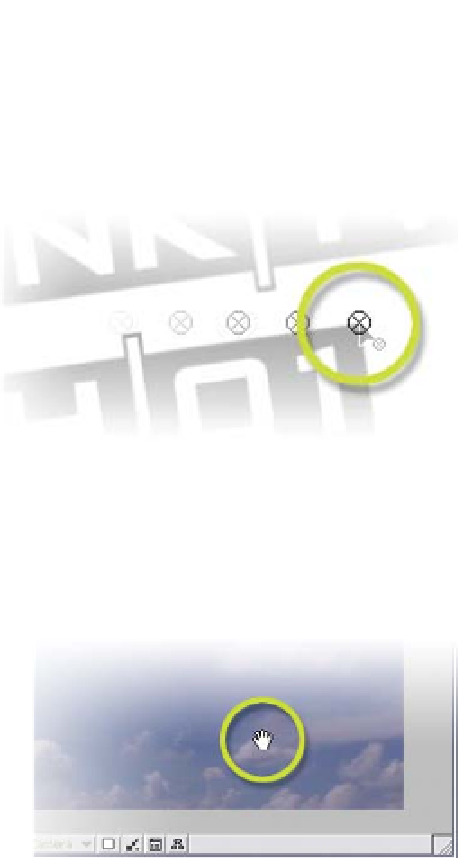
Look Ma - No Handles!
Conspicuously absent in the
Comp Window are any of the
standard window scroll bars
users are accustomed to sliding
to move around the screen.
These scroll bars were
eliminated in version 6.0 of After
Effects (so if you still see them,
ignore this paragraph) and replaced by the Hand Tool (H) in the Tools menu
floater. Selecting the Hand Tool allows the user to move freely about the full
Composition Window canvas - even offscreen. This offers superb flexibility to the
designer, eliminating any restrictions to accessing any objects placed far
offscreen in any direction.
The Layer Window - Editing Clips
The Composition Window has another function: double-clicking on a layer in
the Timeline Window opens that layer's resource in another window, tabbed