Graphics Reference
In-Depth Information
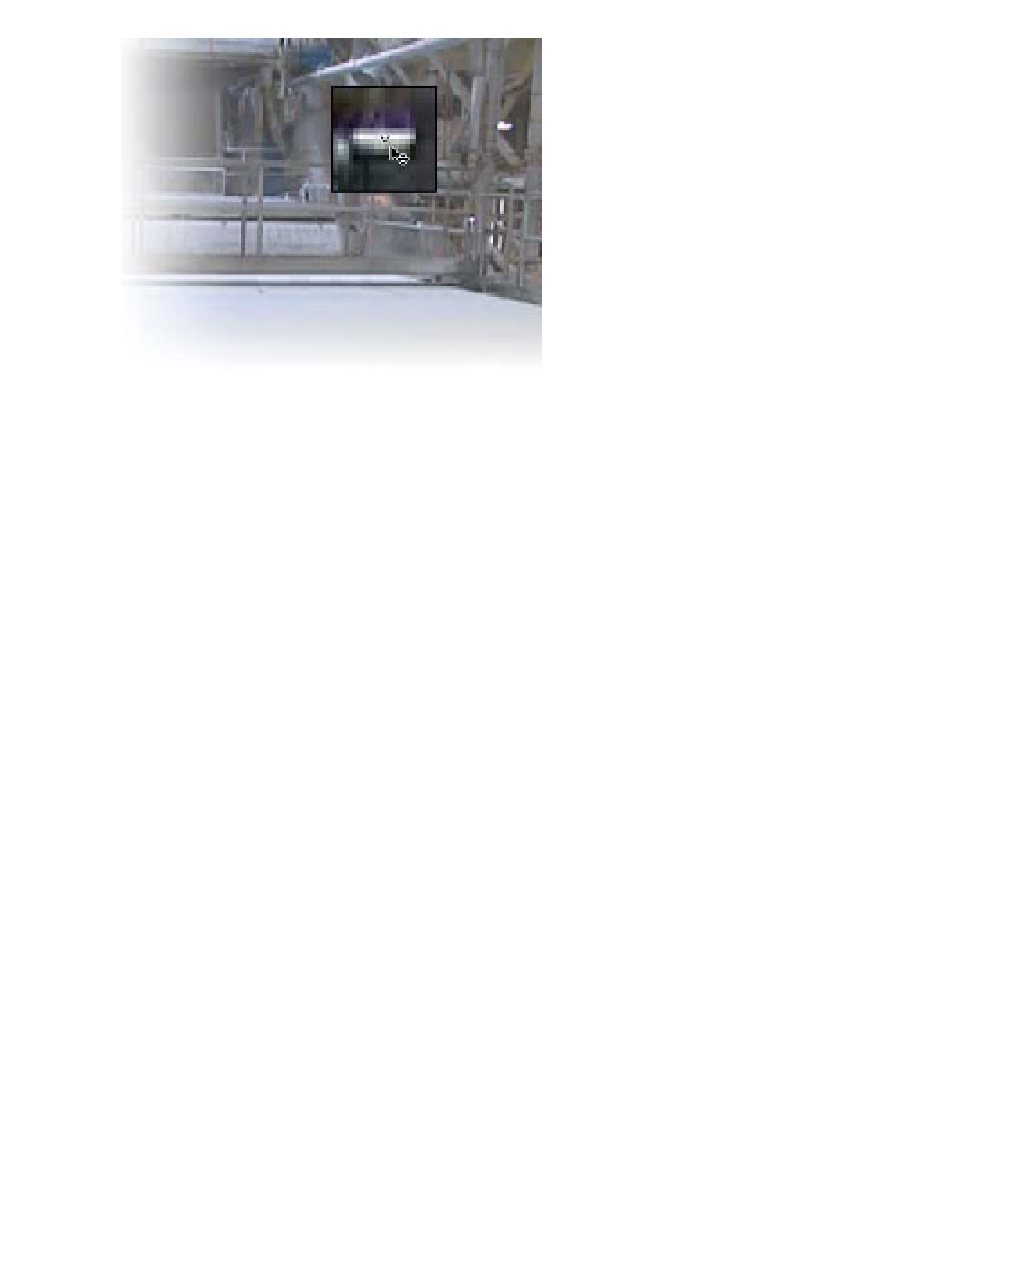
the Tracker approaches the
screen's edges.
As you move
Track Point 1
(drag
inside the boxes, but don't grab
the cross-hairs), the Track Point
boxes change into a
magnification box of the area
designated by the smaller Track
Point box. This assists with the
precise placement of the
cross-hairs on the feature you're
trying to track. You can also zoom into the image for better placement precision
either by changing the Magnification
Pop Up selector or by rolling the center
mouse wheel.
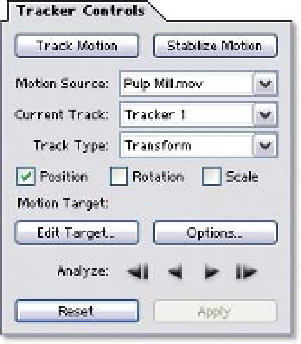
When you first opened the Footage Window
and the Track Point appeared, another
floating window menu opened as well: the
Tracker Controls window. This menu contains
the tools and controls used to adjust then
run your track. Click on the Options button
to access the Motion Tracker Options
window, with its tools used to provide more
accurate tracking and scene pre-processing.
The Tracker Controls window has several functions you can modify: the
Motion
Source
defines from which clip it will calculate its track,
Current Track
identifies
which Track Point is currently active for modification,
Track Type
designates the
operational mode (as described earlier) and, below that, the property (Position,
Rotation, and Scale) to be calculated.
By default, the Single-Point Tracking mode is first selected. Its Track Type,
'Transform', pre-selects the 'Position' property.
4
Ensure that the Layer Window's CTI is at its first frame.
5
Drag the Track Point and place it over any one of the lights in the room.