Graphics Reference
In-Depth Information
3D Layers - Part 3: 3D Lights
All 3D animators worth their salt know
that it's lighting that defines their
renderings - good lighting can make a
bad scene look great, while bad
lighting can ruin a beautiful scene.
After Effects' 3D Lights are less inclined
to be so crucial to a Comp's design
because you can create so many
alternatives to Lights for interesting visual effects. But they still add that edge of
realism to a Comp by helping focus the viewer on certain areas of your design and
removing the somewhat flat perception of a non-light scene by adding highlights
and shadows. Each layer can have different lighting attributes that determine how
lights affect their surface, and how the layer affects objects behind.
1
Revert to the most
recent saved version of
the 3D Layer project,
Grid Ball
-
AI 2.aep
.
2
Add a Light to
the Timeline
(Ctrl
L)
or right-click inside the
Timeline, under existing
layers, then select
Alt
Shift
New
Light . . .
.
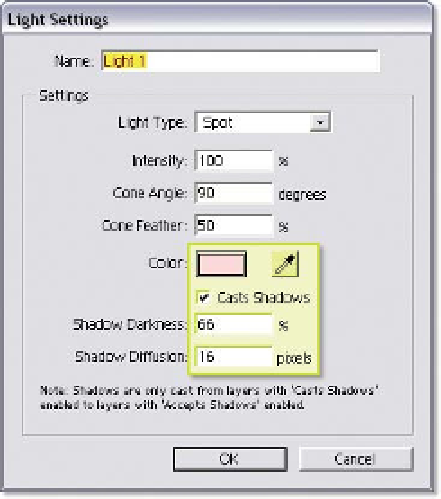
3
Set the
Color
to pink,
set
Casts Shadows
active, set
Shadow
Darkness
to 66%, and
Shadow Diffusion
to '16', then press 'OK'.
The Light Settings dialog has several attributes you can apply to your lights:
Light Type
- conical Spot (diverging light rays), spherical Point
(omnidirectional), orthographic Parallel (like sunlight), and Ambient
(non-directional light).