Graphics Reference
In-Depth Information
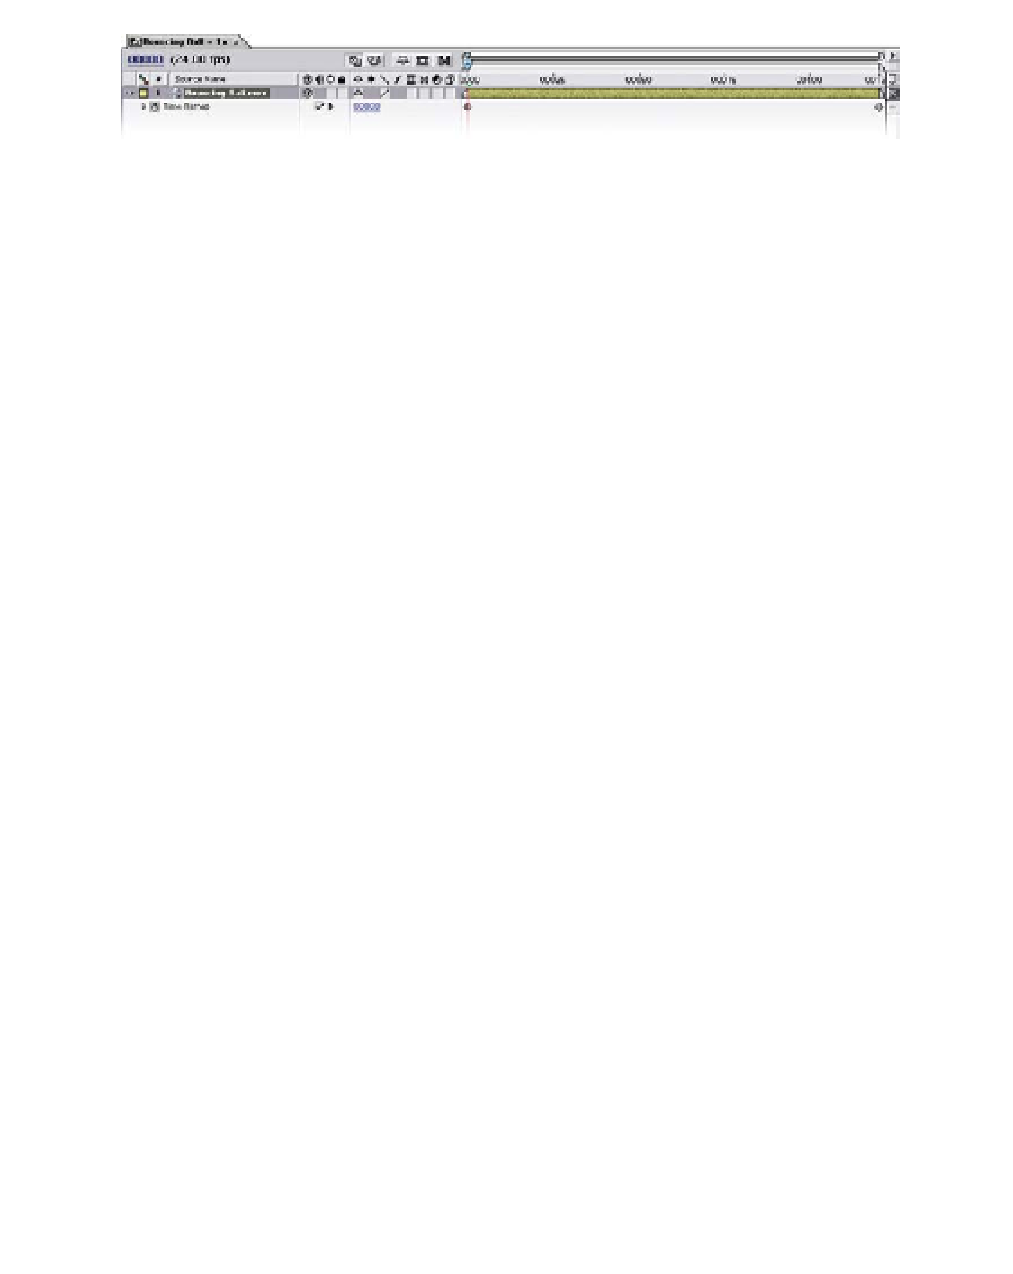
Once enabled, the layer has another property available to animate. The first
Keyframe shows the value of 00000 (if you're in Time Code mode the display
will show 0:00:00:00 or 0000
00 for footage - you can quickly switch display
counter modes by 'Ctrl
clicking' on the upper left blue Current Time
counter).
You can quickly see the effects of Time Remapping by dragging the last
Keyframe left anywhere close to the first Keyframe.
6
Drag the last Keyframe to frame 20.
7
Go to frame 24 and set your Work Area End marker (N).
8
Turn off Frame Blending.
9
Run an RAM Preview of the clip's revised speed.
The clip runs really fast. Now enable Frame Blending and run another Preview.
The ball is super motion blurred. Now, to add some chaos:
10
Go to 45 and click on the current Time Remap value of 0120, changing
it to 30.
11
Randomly select different times within the Timeline and input any
numbers from 0 to 119 (frame 120 is the Out Point and has no image).
12
Expand the Work Area to cover the whole clip and run a Preview.
Applying different Keyframe Interpolations further expands on this chaos by
imposing varying rates on Time Remapping from Keyframe to Keyframe.
13
Select all Time Remapping Keyframes (click on the Time Remap
property name).
14
Press F9 to apply an Easy Ease to each Keyframe.
15
Run another Preview.