Graphics Reference
In-Depth Information
3
Return to the Timeline's start frame (Home).
4
Select the Pan Behind Tool (Y), click on the layer's Timeline Bar
(a new cursor appears), then drag back and forth.
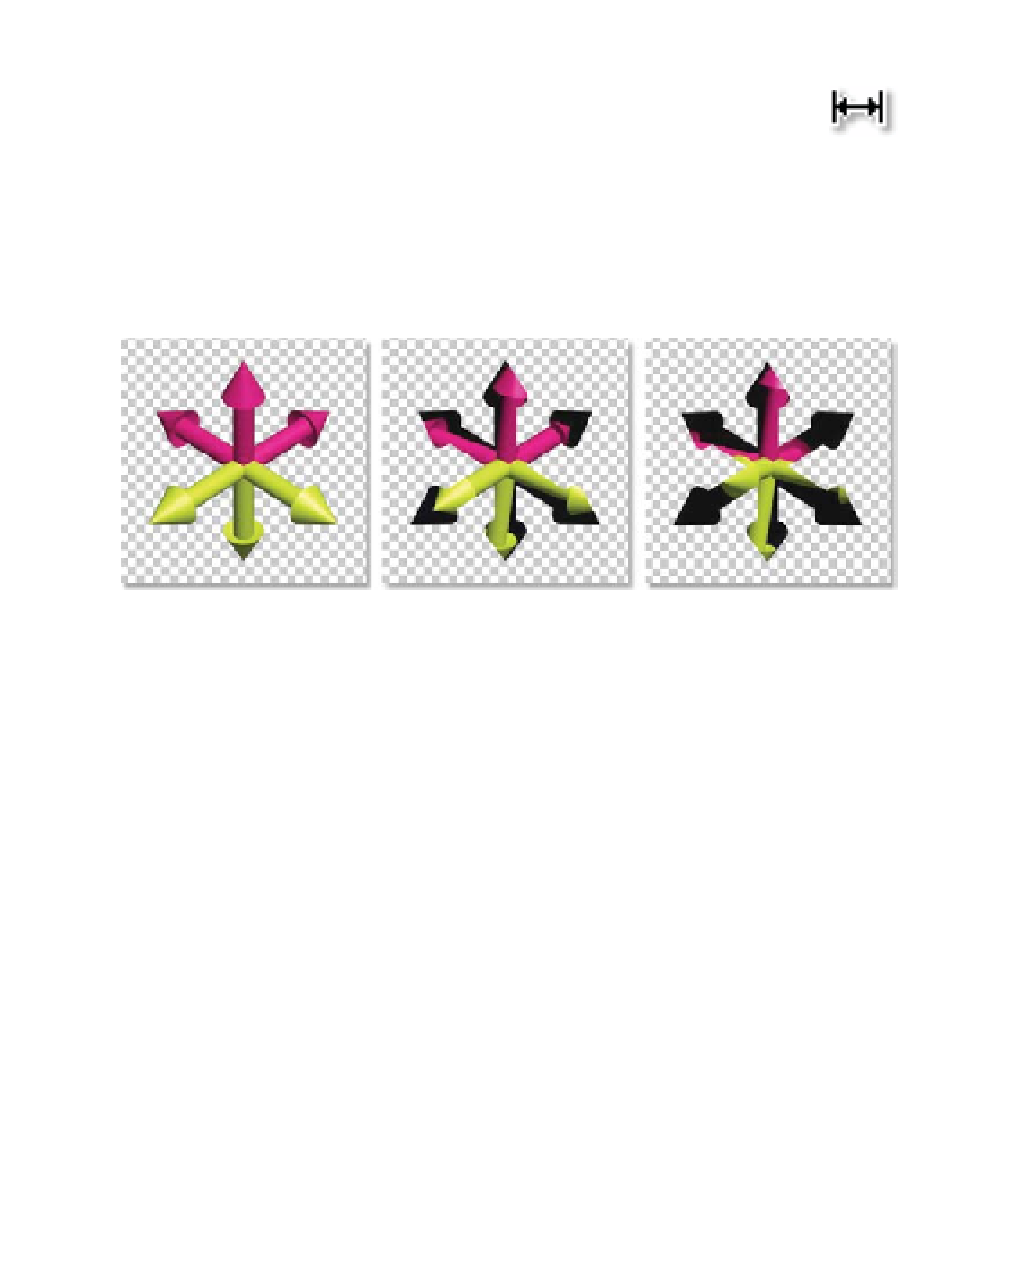
As you drag the cursor, the Axis image starts to move and becomes misaligned
to its Matte Source's layer. The first thing you'll need to do is permanently
attach the two Axis FILL and ALPHA layers together, so when you use the Pan
Behind Tool they remain synched.
Hybrid Precomping
This is a job for The Wondrous Precomposition! But which method of
Precomping should be used? You need all the property's Keyframes to stay in
the master composition - so you should use 'Leave all attributes . . . '. However,
you also need the Set Matte effect's source layer in order for the image to
maintain its keying - so you'll need 'Move all attributes . . . '. But if you use
'Move . . . ', all the Keyframes will follow, and you need them to stay put. This
will have to be a hybrid of both methods.
5
Select layer 1 and perform a Precomp (Ctrl
Shift
C), renaming the
new Comp as
Axis Spike
.
6
In the Project Window, drag and drop
Axis Spike
-
ALPHA.mov
onto the
new
Axis Spike
Precomp.
7
Open the
Axis Spike
Precomp, activate the Track Matte for
Axis Spike
-
FILL.mov
, setting it to 'Luma Matte'.
8
Return to the Master Comp and select layer 1.