Graphics Reference
In-Depth Information
Another convenient feature to After Effects Keyframe management is its ability
to Paste one common set of Keyframes from one layer to multiple layers at
one time.
8
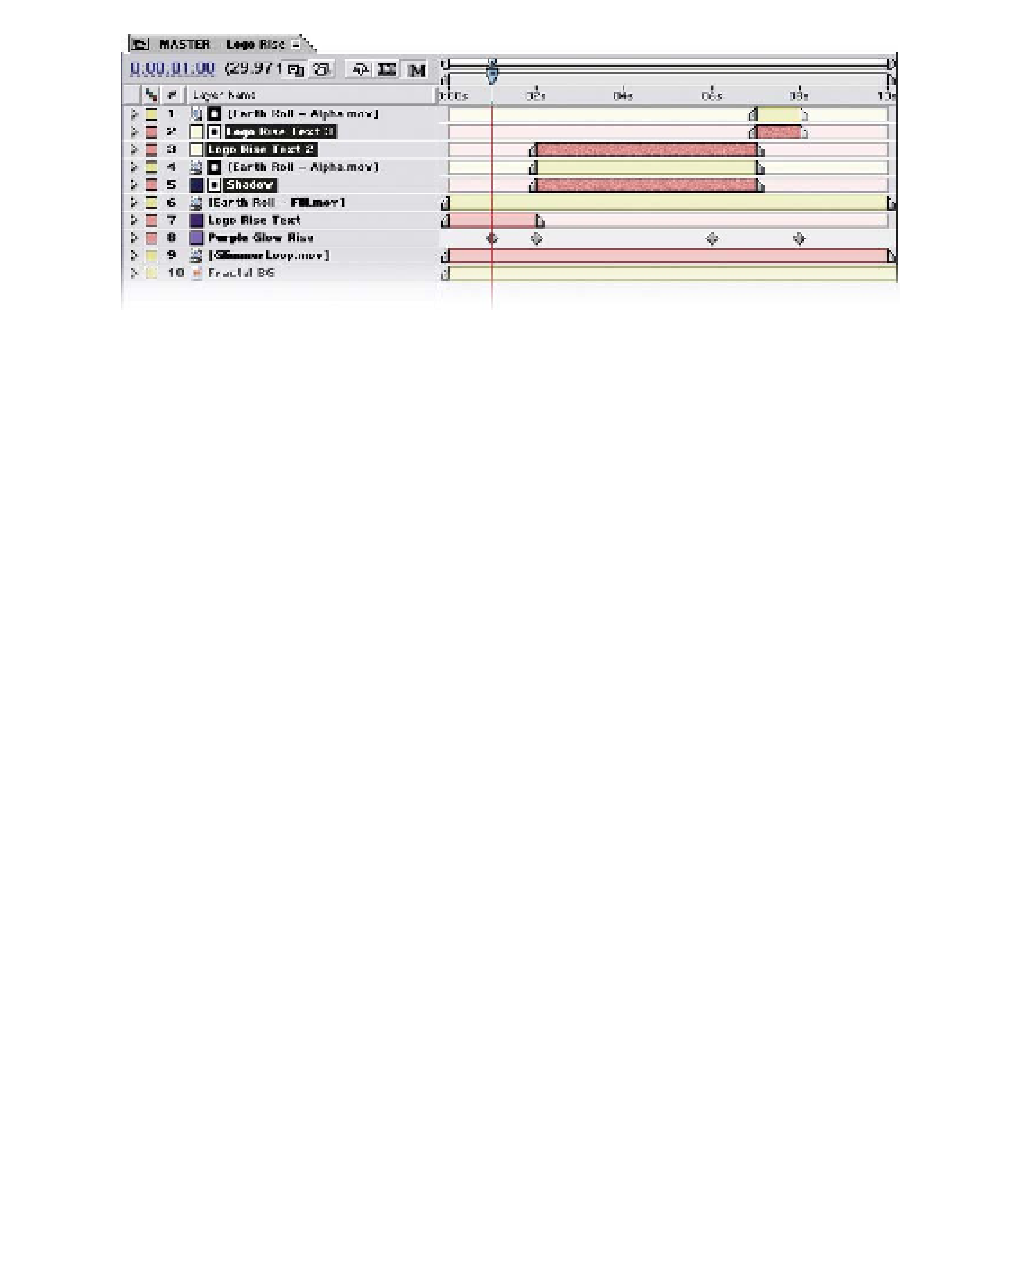
Align the CTI to the first Keyframe of layer 7.
9
Press 'Ctrl
P' to Paste the Rotation Keyframes to the selected layers.
10
Press 'R' to confirm they all have the same Rotation Keyframes applied.
11
Save your work using the Increment and Save function
(Ctrl
Alt
Shift
S).
12
RAM Preview your work at 50% size and Half resolution to speed up the
preview (Every-Other-Frame, 'Shift
0').
The only problem with the animation now is the Logo Rise spins too quickly
and stops spinning too early with respect to the Logo Rise landing over the
Earth. The second Keyframes need to be moved later to coincide with the
logo's landing position.
Moving Keyframes
As simple as it is to make Keyframes in After Effects - so it is with moving
Keyframes. With all of the
Logo Rise Text
layers displaying their Rotation
Keyframes (select each layer, then press 'R' if you need to see them), then:
13
Drag the cursor around the column of Keyframes at 2:00.
14
Click on any of the selected Keyframes and drag right to 4:00.