Graphics Reference
In-Depth Information
You apply Markers
to your Timeline by
pressing the '*' key
on your keypad
repeatedly during an Audio Preview. These Markers are applied to any layers
that are selected as the Audio Preview plays, but they do not appear until the
Preview is halted. The Audio Preview begins at the CTI's current position but
does not run the CTI. Audio Previews will play (then loop back to their start)
until either the preset duration is reached or until the clip ends - even if the clip
extends past the comp's end frame.
In the WONK TV project, an audio track has been provided as a foundation for
constructing our graphics. Use this track to experiment setting audio track Markers.
1
Select the audio track - press the Decimal (
.
) key on the keypad.
2
Listen to the track a few times - the
Preview
automatically loops.
3
Once you have a sense of the rhythm, start setting
Markers
for the
primary beat intervals by pressing the asterisk (
*
) key on the keypad.
4
Press the Decimal key to finish the
Preview
(Audio Preview progresses
until you press any other key).
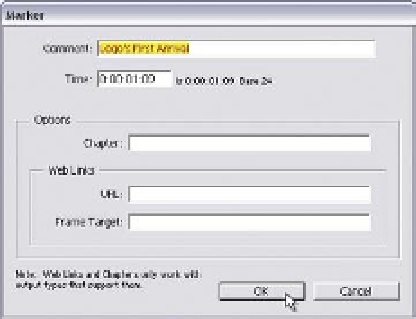
Once stopped, the Markers
appear along the individual clip's
Timeline color bar. Double-click
on a Marker and the Marker
settings window opens. You can
type a comment or create options
to be accessed by other
applications using this Timeline
(to be discussed later).
Run the Preview again to visually
confirm that the marks are synchronized to the music track's primary beat. You can
verify the accuracy of Markers by comparing them against the Waveform Display's
high-resolution mode (Timeline Navigator zoomed in). In the example on the
following page, the left (On-Beat) Marker is clearly aligned to the waveform's beat
pattern while the right Marker is offset. Adjusting an offset Marker only takes a
drag of the cursor to line them up with a beat's peaking pattern.