Graphics Programs Reference
In-Depth Information
4.
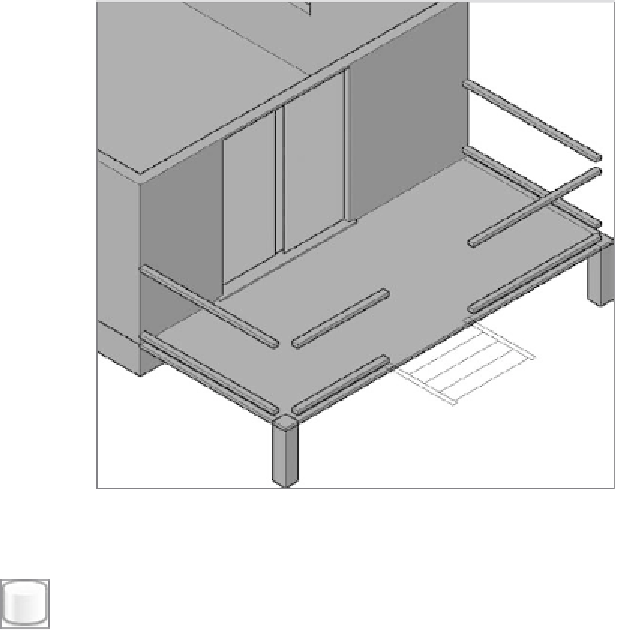
Repeat the process to create the two sets of railings at the front of the
deck, on the left side of the stairs; then copy both sets to the opposite
side of the deck. Switch to the right and top views with the ViewCube
to check your work, adjust the size of the railings on the right side
of the steps, and then use the Zoom Previous command (
Z
↵
P
↵
) to
return to the current view (see Figure 16.55).
FiGuRE 16.55
The railings in place and adjusted for size
5.
To draw the first railing post, click the down arrow below the Box but-
ton in the Modeling panel and choose Cylinder from the fly-out menu.
6.
At the
Specify center point of base or:
prompt, click the mid-
point of the first lower railing that you drew where it meets the exte-
rior wall, and enter
3/8
↵
(
9.5
↵
) for the radius (see Figure 16.56).
7.
At the
Specify height or:
prompt, make sure the cursor is above
the cylinder's base, and then enter
3
′↵
(
914
↵
).
8.
To fill in the row of posts, move the first post 3
5
⁄
8
″
(92 mm) in the X
direction and then copy it 20 times, at 4
″
(102 mm) increments in the

Search WWH ::

Custom Search