Graphics Programs Reference
In-Depth Information
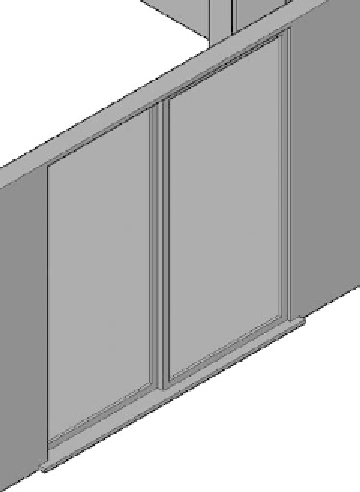
FiGuRE 16.52
The completed sliding door with two offset panels
Building the Decks
You're nearly done modeling the cabin. The next step is to make the two decks
using basic shapes and copying redundant objects. Follow these steps to create
the front deck:
1.
Make a new layer called A-DECK-3DOB, assign it color 240, make it
current, and then thaw the A-FNDN-3DOB layer and freeze the other
3DOB layers except A-DOOR-THRE-3DOB and A-WALL-EXTR-3DOB.
2.
Click the Box tool and create a box to represent floor of the deck. Use
the Endpoint osnap to locate the two opposite corners of the deck,
and then give the box a height of -1
5
⁄
8
″
(-41 mm). Your model should
look like Figure 16.53.
3.
Draw a box that follows the perimeter of the railing on the left side of
the deck, and make this box 2
″
(51 mm) tall. Move the box 4
″
(102 mm)
in the Z direction to represent the lower railing; then copy it and move
the copy 3
′
-2
″
(965 mm) higher to represent the upper railing. Your
railings should look like those in Figure 16.54.

Search WWH ::

Custom Search