Graphics Programs Reference
In-Depth Information
2.
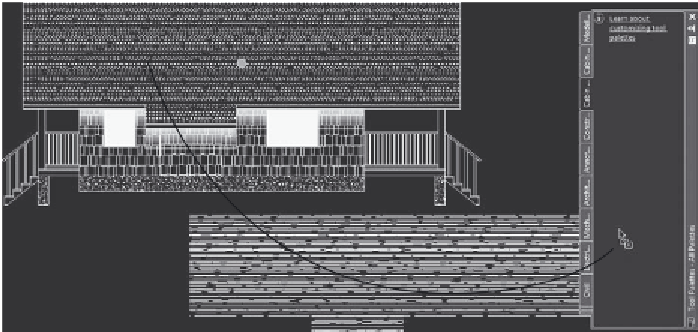
Zoom in on the south elevation of the cabin, and click the roof hatch
to display a grip.
3.
Move the cursor to a portion of the roof hatch that isn't close to the
grip, and then click and drag the hatch pattern over to the new pal-
ette (see Figure 11.30).
FiGuRE 11.30
Copying the roof hatch to the new palette
4.
When the cursor is over the palette and a horizontal line appears there,
release the mouse button.
The roof hatch is now positioned on the palette and available for use
in any drawing. Simply drag it off the palette and into the enclosed
area in the drawing that you want to hatch with the pattern.
5.
Place the cursor on the new swatch of AR-RROOF, right-click, and choose
Properties. The Tool Properties dialog box opens (see Figure 11.31).
6.
Change the name from AR-RROOF to Cabin Roof
.
Enter a description
of what the hatch represents, such as “Cabin roof, south elevation,” as
shown on the left in Figure 11.32,
or
“shakes.”
Notice that the hatch has the angle and scale used on the roof and
that it's also on the A-ELEV-ROOF-PATT layer. Use the slider at the
left to view all the properties. Click OK to close the dialog box and
update the palette (see Figure 11.32, right).
By using the Tool Properties dialog box, you can also give hatches color. You
can place all the hatches that you've used for the cabin so far on the palette in


Search WWH ::

Custom Search