Graphics Programs Reference
In-Depth Information
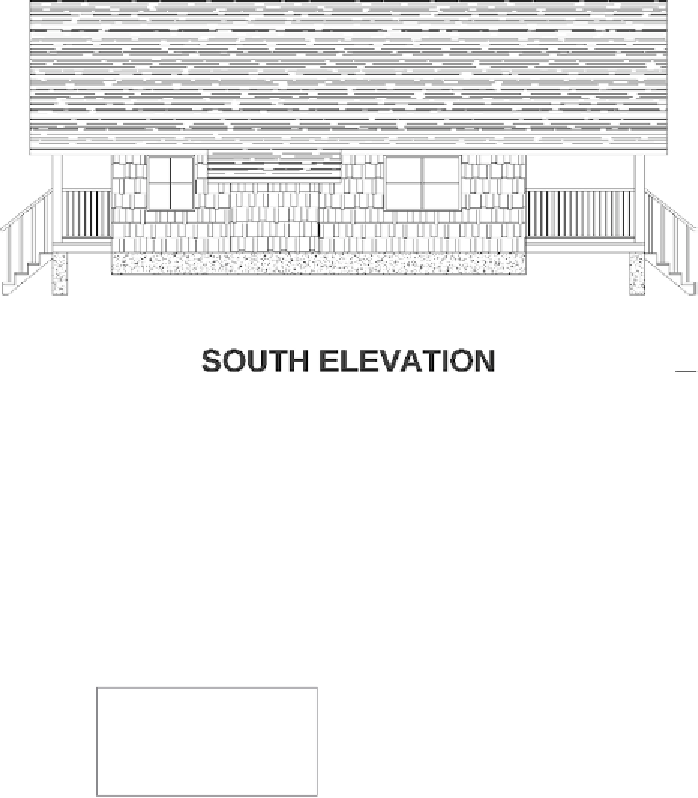
FiGuRE 11.8
The pop-out with the revised hatch pattern
2.
Start the
HATCH
command to open the contextual Hatch Creation
Ribbon tab., and then click the Swatch sample box. Make sure the
Other Predefined tab is active, and select the first pattern, SOLID.
Click OK. On the Properties panel, note that the text boxes for Angle
and Scale aren't available because they don't apply to solid fills.
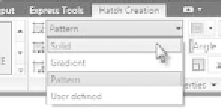
3.
Change the value of the Hatch Type pull-down from Pattern to Solid
(see Figure 11.9).
FiGuRE 11.9
Changing the Hatch Type from Pattern to Solid
Note that the SOLID pattern is now selected (blue background) in
the Pattern panel, and that Background Color, Angle, and Scale are
no longer available in the Properties panel and have been grayed out.
Because the SOLID hatch pattern is a solid fill, these properties do
not apply.
4.
Move your cursor back into the drawing area, and select a point in
the middle of each of the glass panes, or the middle of the window if


Search WWH ::

Custom Search