Graphics Programs Reference
In-Depth Information
Drawing interior Elevations
Sometimes referred to as
sections
, interior elevations can be constructed using
the same techniques you learned for constructing exterior elevations. You drop
lines from a floor plan through offset height lines and then trim them away.
Interior elevations usually include fixtures, built-in cabinets, and built-in shelves,
and they show finishes. Each elevation consists of one wall and can include a side
view of items on an adjacent wall if the item extends into the corner.
Not all walls appear in an elevation—usually only those that require special
treatment or illustrate special building components. You might use one elevation
to show a wall that has a window and to describe how the window is treated or
finished, and then assume that all other windows in the building will be treated
in the same way unless noted otherwise.
In the next chapter, you'll learn how to use hatch patterns and fills to enhance
floor plans and elevations.
if You Would Like More Practice…
Here are three exercises for practicing the techniques you learned in this chapter.
The last one will give you practice in basic orthogonal projection.
Exterior elevations
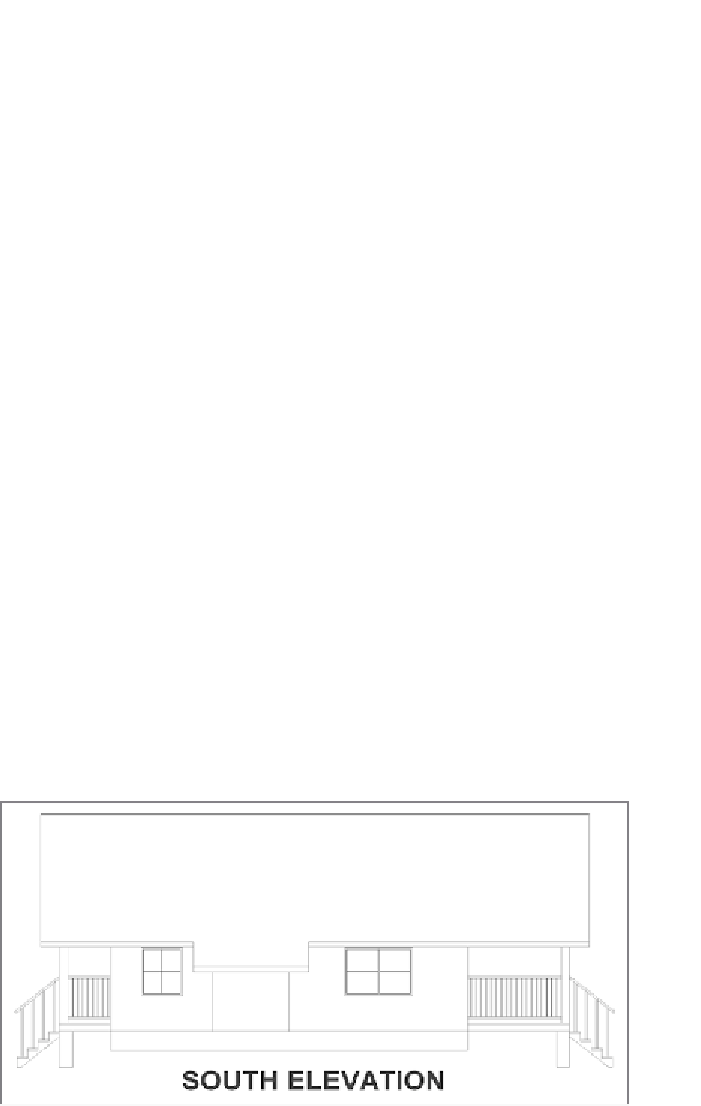
Open
10A-FPLAY4.dwg
and revise each elevation adding 1 ½
″
frames around the windows and doors. Add mullions, the dividers between win-
dow panes, to separate each window into four equal panes and add a rectangular
window to the back door. Figure 10.53 shows the revised south elevation with the
features added to the windows.
FiGuRE 10.53
The revised south elevation
Search WWH ::

Custom Search