Graphics Programs Reference
In-Depth Information
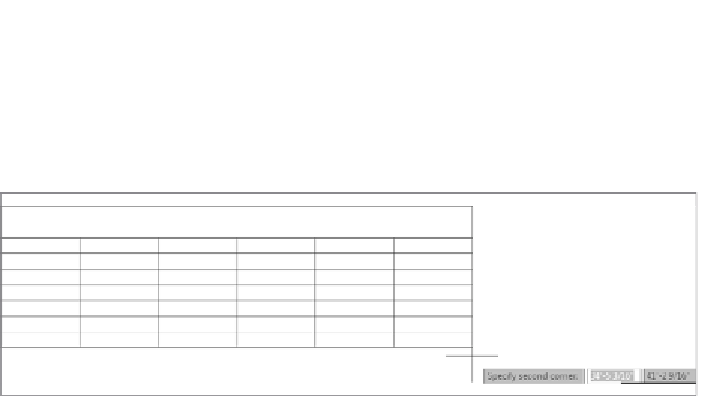
The new table appears; its title bar has a flashing cursor and a light
gray background. It has a dark gray background above and to the left
of the table; the columns are lettered and the rows are numbered.
The Text Editor contextual tab and panels appear in the Ribbon.
FiGuRE 9.65
The new table inserted in the drawing
7.
With Caps Lock on, enter
DOOR SCHEDULE
↵
. The cursor moves to
the upper-left cell on the table. This is the row for the column headers.
8.
With Caps Lock on, enter
SYM
,
and press the Tab key to highlight the
next column header to the right. Moving across the header row, enter
(in caps)
NAME
and press the Tab key; enter
H&W
and
press the Tab
key; enter
TYPE
and press the Tab key; enter
MAT'L
and
press the
Tab key; and then enter
COST
↵
. This completes the row of column
heads (see the top of Figure 9.66).
9.
Partially fill in the data for the door schedule that's shown at the bot-
tom of Figure 9.66 in the same manner.
Pressing the Tab key instead of
↵
moves the activated cell left to right
across each row and then down to the next row. Pressing
↵
moves the
activated cell down each column and then ends the command. For
the Glass and Aluminum material, don't press
↵
to move to the next
line, simply keep typing and the text is wrapped automatically and the
cell height is changed to accommodate the additional lines of text.
10.
You don't have to enter everything from scratch; it's easy to copy the
contents of one cell into other cells.
Enter
Swinging
in cell D4 and then highlight the text. Press Ctrl+C
to copy the highlighted text to the Windows Clipboard. Deselect the
current cell, and then select the cell below it by clicking in cell D5.
Press Ctrl+V to paste the word
Swinging
into the selected cell.
11.
Complete the Type and Material columns, as shown in Figure 9.67.
Search WWH ::

Custom Search