Graphics Programs Reference
In-Depth Information
8.
Press
↵
to restart the
INSERT
command. Click OK to accept GRID-V
as the current block to be inserted.
9.
Click the gridline to the right of the one you just selected.
10.
At the
Enter grid letter
<A>: prompt, enter
B
↵
.
The second grid symbol is inserted on a gridline, and the letter
B
is located in the circle. Be sure to use a capital
B
here; the tag will
not prevent you from using a lowercase letter, but drawing standards
require consistency.
11.
Repeat steps 8 through 10 to insert the other two grid symbols across
the top of the floor plan, incrementing the values for each.
12.
Continue repeating steps 8 through 10, but select the GRID-H
block
for the four grid symbols that run down the left side of the floor plan.
The result should look like Figure 9.10.
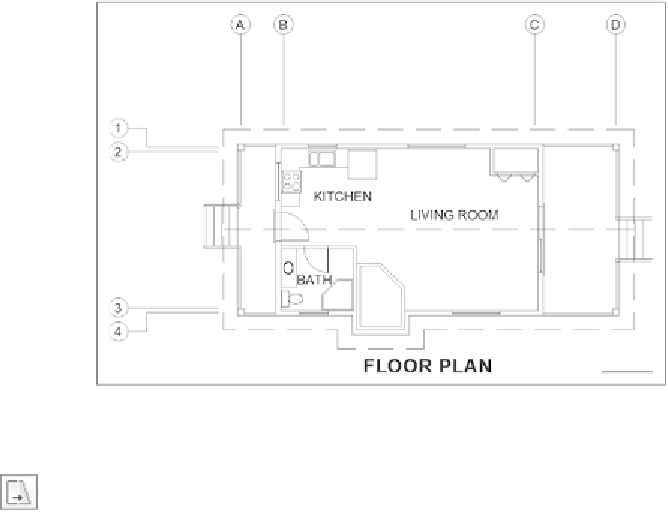
FiGuRE 9.10
The grid with all symbols inserted
13.
If the circles overlap, use the
STRETCH
command (see Figure 9.11) to
stretch the short horizontal and vertical lines and the circle away
from the long, straight gridlines.

Search WWH ::

Custom Search