Graphics Programs Reference
In-Depth Information
4.
Give the new block an X scale factor of
5
, a Y scale factor of
1
, and a
rotation of 0
″
. The new window appears as shown in Figure 7.39.
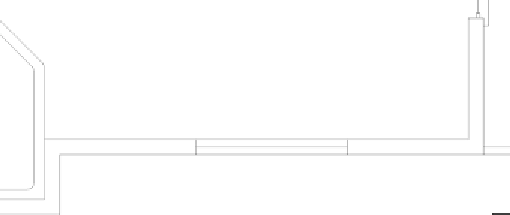
FiGuRE 7.39
The new 5
′
-0
″
(1525 mm) window in the living room
TIP
If you can't recall a typed-in command, you can enter the first let-
ter or two of the command and then use the tab key to cycle through all the
autoCaD commands that begin with the letters you entered. When the cor-
rect command appears at the command prompt, press enter to activate it.
The final window to draw is the 3
′
-0
″
(915 mm) window in the bath-
room. The insertion point is located 4
′
-0
″
(1220 mm) from the bottom-
left outside corner of the cabin. To create this window, you'll copy the
living room window that you just drew and then change the X scale
factor using the Properties palette.
5.
Select the 5
′
-0
″
(1525 mm) window in the living room and start the
COPY
command.
6.
At the
Specify base point:
prompt, hold down the Shift key and
press the right mouse button to open the Object Snap context menu.
Click the Insert icon to activate the Insertion Point object snap and
temporarily disable the running osnaps.
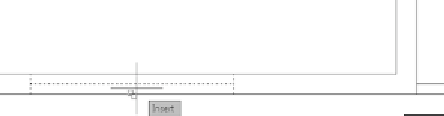
7.
Place the cursor over the window block until the Insert marker appears
(see Figure 7.40); then click to define the base point for the
COPY
com-
mand as the insertion point of the block.
FiGuRE 7.40
Snapping to the insertion point of the block


Search WWH ::

Custom Search