HTML and CSS Reference
In-Depth Information
In this private method, you have a simple switch statement that returns a color value based on the tile type. As
you can see, you are adding one special tile type,
"@"
, which is going to be your player. The last thing you need to do is
add the code to clear your canvas, so add the following code to your empty
clearMap
method:
this.canvas.width = this.canvas.width;
This is a neat trick that clears a canvas quickly by simply setting its width to itself. There is no need to mess with
adding a method to repaint the canvas with a solid color, unless you want to change the background to something
other than black.
At this point, you should have everything that is required to see your map. You just have to make one minor
correction to your renderer setup in the
game.ts
file. Replace
this.renderer = new renderer.CanvasMapRenderer();
with
this.renderer = new renderer.CanvasMapRenderer(this.display, new geom.Rectangle(0, 0, 20, 20));
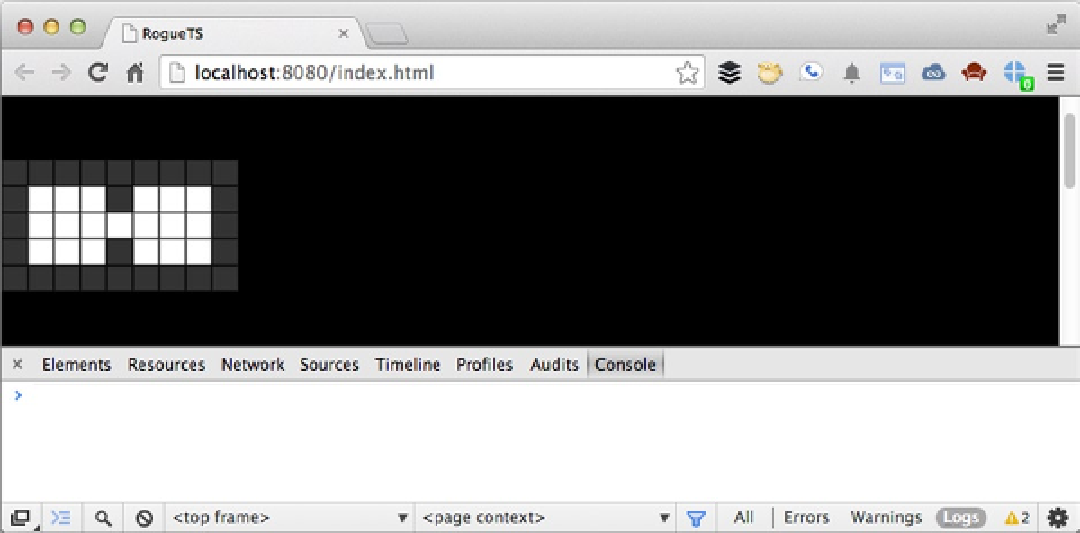
Save your changes, make sure that everything passes the compiler, and refresh your web page. You should see
something similar to the rendering displayed in Figure
19-13
.
Figure 19-13.
You will now see your game's map being rendered to the screen
And that is how you get your map rendering. Before moving on, let's talk a little more about extending classes
and why it's important. You may have noticed that your renderer was called
CanvasMapRenderer
and not just
MapRenderer. That was intentional. Rogue is traditionally a text-based game. You could easily have created a text
renderer, called
TextMapRenderer
, that simply modified it to display each tile as its value and not bothered with
canvas at all. All you would need to do is implement the
IMapRenderer
interface and change out your
draw
,
drawTile
,

