Graphics Programs Reference
In-Depth Information
4.
Type
0.5
↵. The radius changes. You still have the opportunity to change the radius again.
5.
Type
R
↵ and then type
0.2
↵. The radius changes again.
6.
Press ↵ to fi nish the fi llet.
Using Surface Offset, Surface Blend, and Surface Patch
As mentioned earlier, a few of the tools on the Tool Sets palette are a bit like editing tools. Surface
Offset, Surface Blend, and Surface Patch create new surfaces that use existing surfaces as their basis.
Surface Offset creates a new surface that is parallel to an existing one and is similar to the 2D Offset
command. Surface Blend is a bit like the Surface Fillet tool in that it will join two surfaces with an
intermediate surface. Surface Patch will create a surface that closes an open-ended surface.
To get a better idea of how these three tools work, try the following set of exercises.
U
S I N G
T H E
S
U R F A C E
O
F F S E T
T
O O L
Start by creating a parallel copy of an existing surface using the Surface Offset tool:
1.
Open the Patch1.dwg sample file which can be obtained from the Chapter 23 sample
folder on the topic's companion website.
2.
Click the Surface Offset tool from the Surfaces - Create tool group on Tool Sets palette.
3.
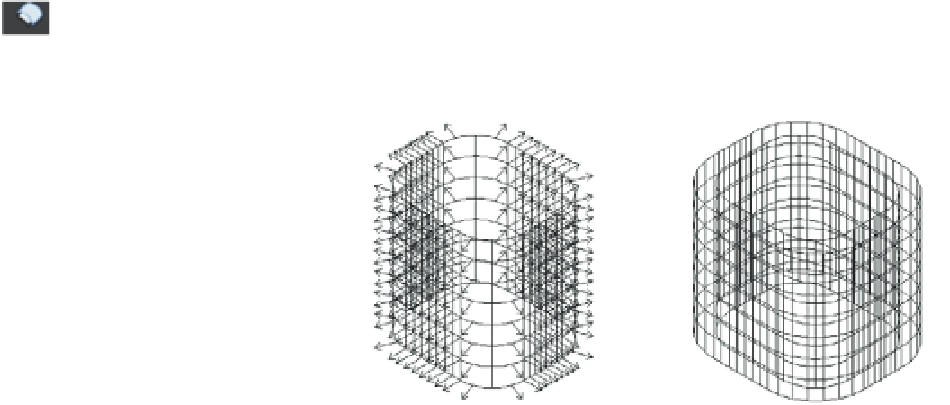
Click the surface in the drawing and then press ↵. You see a set of arrows appear as
shown in the left image of Figure 23.42.
FIGURE 23.42
Using the Surface
Offset tool
4.
Type
F
↵. The arrows now point in the opposite direction.
5.
Type
F
↵ again to return the arrows to their previous direction, facing outward.
6.
Enter
0.5
↵ for the offset distance. The offset surface appears around the original surface
as shown in the right image of Figure 23.42.
The arrows play an important role in helping you visualize the result of your offset, so
instead of picking a direction, you adjust the direction of the arrows.