Graphics Programs Reference
In-Depth Information
4.
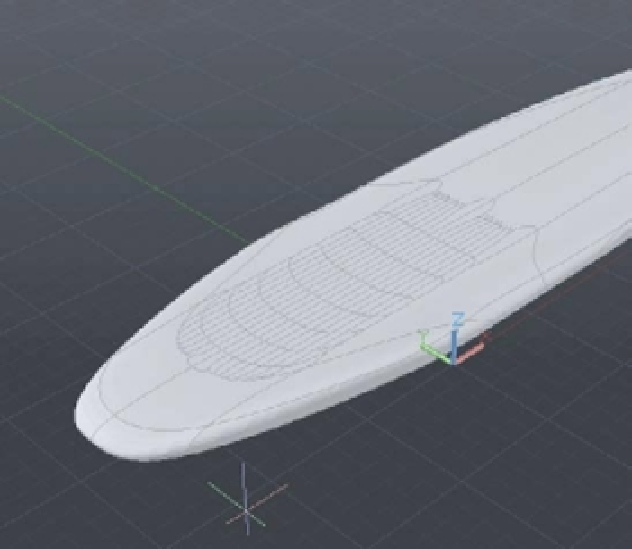
Right-click and select Refine Mesh from the shortcut menu. The selected faces will be
subdivided into smaller faces and edges, as shown in Figure 23.14. (You can also type
MESHREFINE
↵.)
FIGURE 23.14
The refined faces
UNDERSTANDING HOW REINE MESH WORKS
You have some control over the number of faces that Refine Mesh creates through the level of smooth-
ness applied to a mesh. If you reduce the smoothness of a mesh, the Refine Mesh tool will produce
fewer faces. If you increase the smoothness, Refine Mesh will produce more faces—four more per
facet, to be precise.
To understand how this works, you have to take a closer look at how the Smooth More tool works.
Each time you apply the Smooth More tool to a mesh, every face of the mesh is divided into four
facets. These facets aren't actually faces, but they divide a face in such a way as to simulate a
rounded surface. The Refine Mesh tool further divides each of these facets into four faces. You
can see this division clearly if you apply Refine Mesh to a face in a mesh that has only one level of
smoothness applied.
The next step in creating the fins is to edit some of the newly created edges:
1.
Zoom into the surfboard so your view looks similar to Figure 23.15.
2.
Click on the mesh and then right-click and select Edge from the Subobject Selection
Filter flyout.
3.
Click the edges shown in Figure 23.15.