Graphics Programs Reference
In-Depth Information
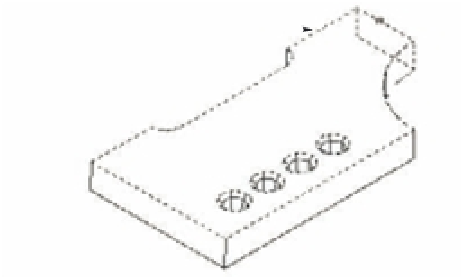
FIGURE 22.22
To select the verti-
cal surface to the
far right of the
model, click the
edge and then use
the Remove option
to remove the top
surface from the
selection.
Click here to
remove a surface
from the selection set.
Click here to select
a surface to move.
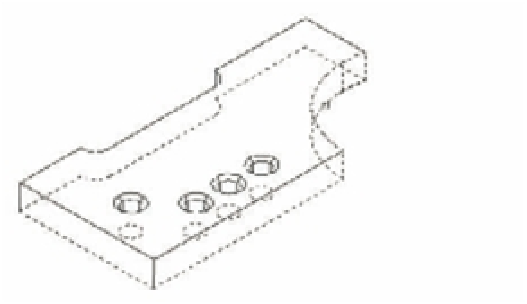
Move Faces also lets you move entire features, such as the hole in the model. In Figure 22.23,
one of the holes has been moved so that it's no longer in line with the other three. This was done
by selecting the countersink and the hole while using the Move Faces option.
FIGURE 22.23
Selecting a surface
to offset
Click on the
solid here.
If a solid's History setting is enabled, you can B-click on its surface to expose the surface's
grip. You can then use the grip at the center of the surface to move the surface.
O
F F S E T T I N G
A
S
U R F A C E
Suppose you want to decrease the radius of the arc in the right corner of the model and you
also want to thicken the model by the same amount as the decrease in the arc radius. To do
this, you can use the Offset Faces tool in the Solids - Edit tool group of the Tool Sets palette or
choose Modify
Solid Editing
Offset Faces. The Offset Faces tool and the Offset command
you used earlier in this topic perform similar functions. The difference is that the Offset Faces
tool affects 3D solids.
When you click the Offset Faces tool or choose Modify
Solid Editing
Offset Faces, you're
prompted to select faces. As with the Move Faces option, you must select an edge that will select
two faces. If you want to offset only one face, you must use the Remove option to remove one of
the faces. In Figure 22.23, an edge is selected. Figure 22.24 shows the effect of the Offset Faces
tool when both faces are offset.