Graphics Programs Reference
In-Depth Information
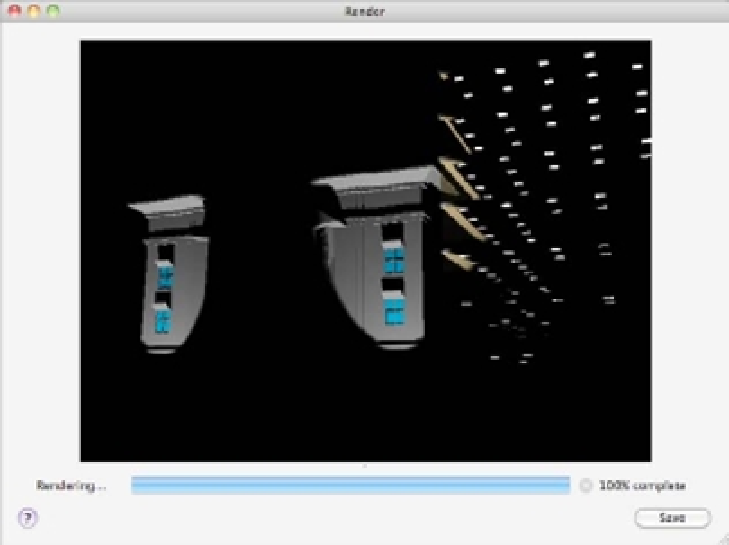
FIGURE 21.20
The rendered view
of the model with
the spotlights
Adding a Point Light
A few things still need to be added to improve this rendering. You can adjust the spotlight so it
casts light over a wider area. You can also add a light in the entrance so it isn't quite so dark. The
next section will show you how to make adjustments to your spotlight. First, you'll add a point
light to obtain a different lighting effect:
1.
Return to the view you used to add the spotlights by choosing SE Isometric Wireframe
from the 3D Views menu in the viewport controls.
2.
Click the Point tool from the lower part of the Tool Sets palette (Figure 21.21) or enter
Pointlight
↵.
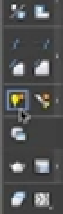
FIGURE 21.21
Click the Point
tool from the
Tool Sets palette.
3.
At the Specify source location <0,0,0>: prompt, A-right-click and select Center
from the Object Snap shortcut menu. Then select the arch over the entrance, as shown in
Figure 21.22, to place the point light.