Graphics Programs Reference
In-Depth Information
2.
At the Specify source location <0,0,0>: prompt, click the point shown in
Figure 21.17. Don't use osnaps because you don't want the light to be placed accidentally
below the ground plane. You don't have to be exact, but the idea is to place the spotlight
in front of the windows on the right side of the entrance to the building.
3.
At the Specify target location <0,0,-10>: prompt, use the Midpoint osnap and
select the bottom of the windowsill of the upper window, as shown in Figure 21.17. You
see the prompt
Enter an option to change
[Name/Intensity/Status/Hotspot/Falloff/shadoW/Attenuation/Color/eXit] <eXit>:
4.
Press ↵ to accept the default settings. You can always change the optional settings for the
light through the Properties Inspector palette.
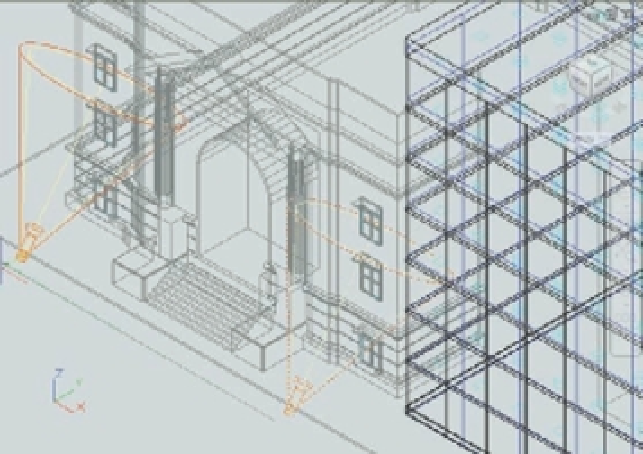
5.
Copy the spotlight you just created to the location shown in Figure 21.19. You can use the
spotlight target to copy from the midpoint of one window sill to the other.
FIGURE 21.19
Copy the spotlight
to this location.
Copy the spotlight to this location.
6.
You're trying to produce a nighttime rendering, so turn off the sun by clicking the Sun
Status button in the expanded Status Bar palette.
7.
Return to the original view by choosing Model Views
Temp from the 3D Views menu
in the viewport controls.
8.
Turn off the Lightingunits system variable by typing
LIGHTINGUNITS
↵
0
↵.
9.
Click the Render tool in the Tool Sets palette to see the results of your spotlight addition.
Your rendering will look similar to Figure 21.20.