Graphics Programs Reference
In-Depth Information
Adding a Self-Illuminated Material
With the Light Bronze Reflective material assigned to the glass, you begin to see a little of the
interior. To help improve the image, you'll add some ceiling lights to the office building. I've
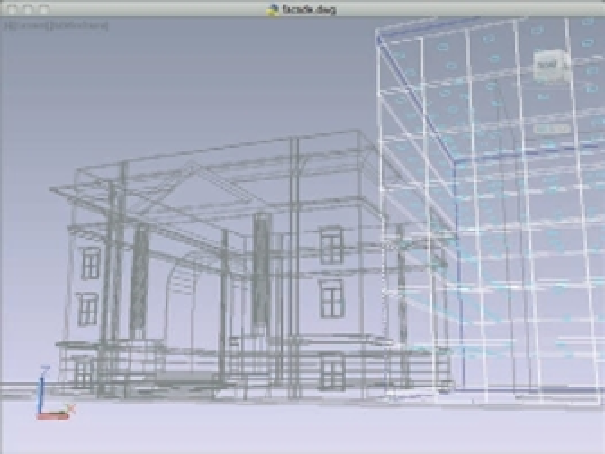
already supplied the lights in the form of square 3D Faces arrayed just at the ceiling level of
each floor, as shown in Figure 21.12. In this section, you'll learn how to make the ceiling lights
appear illuminated.
FIGURE 21.12
The 3D Face
squares repre-
senting ceiling
light fixtures
The ceiling lights appear as squares.
Follow these steps to assign a reflective white material to the ceiling fixtures:
1.
In the Material Browser, select Glass from the Autodesk Library list.
2.
In the icon list to the right, scroll down until you see Light Bulb - On and click it.
3.
In the Layers palette, right-click the Clglite layer and select Isolate Selected Layer.
4.
Select all of the remaining cyan rectangles in the view.
5.
Click the Light Bulb - On thumbnail in the top portion of the Material Browser to assign
that material to the cyan rectangles.
6.
In the Layers palette, turn all of the layers back on.
7.
Render your view. The lights appear in the ceiling of each of the floors (Figure 21.13).
In the previous exercise, you added a self-illuminated material that, when assigned to an
object, appears to glow. You then added this material to the ceiling lights in the model. This
self-illuminated material doesn't actually produce light in the model, however. To do that, you'll
have to add light objects such as a distant lights or spotlights.