Graphics Programs Reference
In-Depth Information
3.
Click the Rotate tool just below the middle of the Tool Sets palette or enter
RO
↵.
4.
At the Select objects: prompt, click the box, and then press ↵ to finish your selection.
5.
At the Specify base point: prompt, don't click anything, but move the cursor from one
surface of the box to a side of the box. As you do this, notice that the surface you point
to becomes highlighted. The orientation of the cursor also changes depending on which
surface you're pointing to.
6.
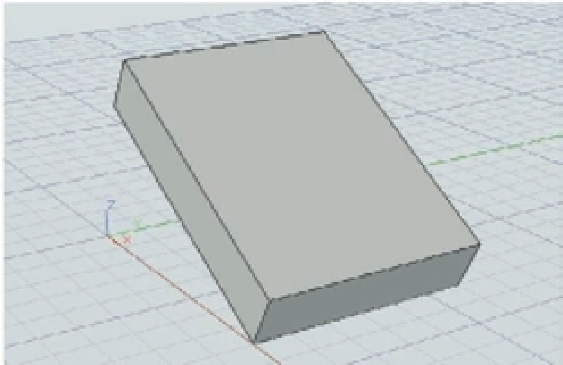
Place the cursor on the left side, as shown in the top image of Figure 19.14; then A-right-
click your mouse and select Endpoint from the Osnap shortcut menu.
FIGURE 19.14
Selecting a base
point, and the
resulting box ori-
entation
The Osnap marker
The cursor on the
left side of the box
7.
While keeping the side highlighted, place the Osnap marker on the lower-front corner of
the box, as shown in the top image in Figure 19.14. Click this corner. As you move the cur-
sor, the box rotates about the Y axis.
8.
Enter
-30
for the rotation angle. Your box should look like the image at the bottom in
Figure 19.14.
Here you saw that you can hover over a surface to indicate the plane about which the rotation
is to occur. Now, suppose you want to add an object to one of the sides of the rotated box. The
next section will show you another essential tool, one you can use to do just that.