Graphics Programs Reference
In-Depth Information
4.
Select 0.13 mm from the list. You've just assigned the 0.13 mm line weight to all layers.
5.
Right-click the layer list again, and choose Clear All.
6.
Click the Common|WALL layer, and F-click the Floor1|WALL layer to select these two
layers.
7.
Click the Lineweight column for either of the two selected layers to open the Lineweight
pop-up menu again.
8.
Select 0.40 mm from the list. You've just assigned the 0.40 mm line weight to the two
selected layers.
9.
Right-click the layer list and choose Clear All. Close the Layers palette or press F-4.
Although you set the line weights for the layers in the drawing, you need to make a few more
changes to the fi le settings before they're visible in Paper Space:
1.
Click the Show/Hide Lineweight tool from the status bar.
2.
Make sure you're in Paper Space, and then zoom in to the drawing.
3.
Type
REA
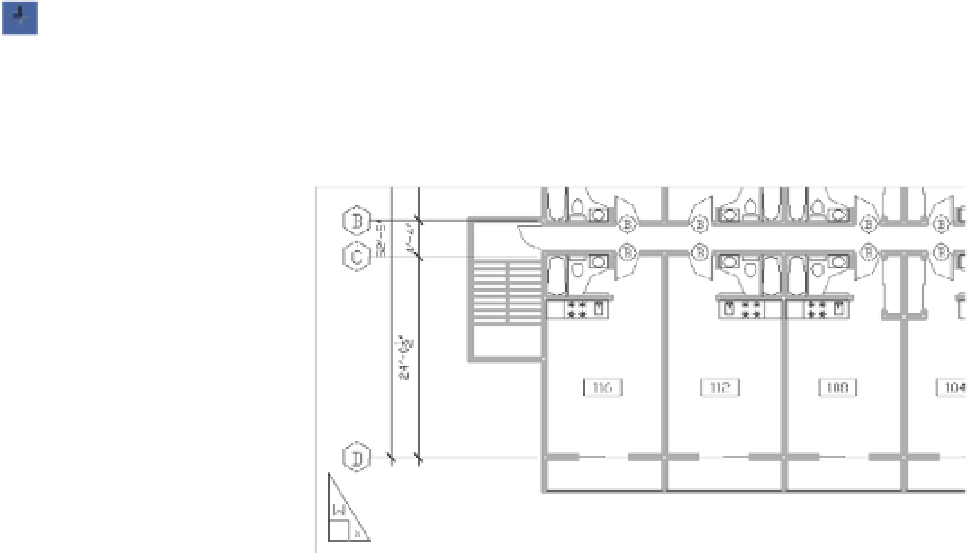
↵. The lines representing the walls are now thicker, as shown in Figure 15.17.
4.
After reviewing the results of this exercise, close the fi le.
FIGURE 15.17
An enlarged view
of the plan with
line weights dis-
played
With the ability to display line weights in Paper Space, you have better control over your
output. Instead of using a trial-and-error method to print your drawing and then checking your
printout to see whether the line weights are correct, you can see the line weights on your screen.
This exercise showed you how to set line weights so they appear in Paper Space as they will
when you print your drawing. If you normally print your drawings in black, you can go one
step further and set all your layer colors to black to see how your plots will look. But you'll need
to save your layer settings so you can restore the layers to their original colors. Another way to
view your drawing in black and white without affecting your layer settings is to use the color
plot style table described in Chapter 8.