Graphics Programs Reference
In-Depth Information
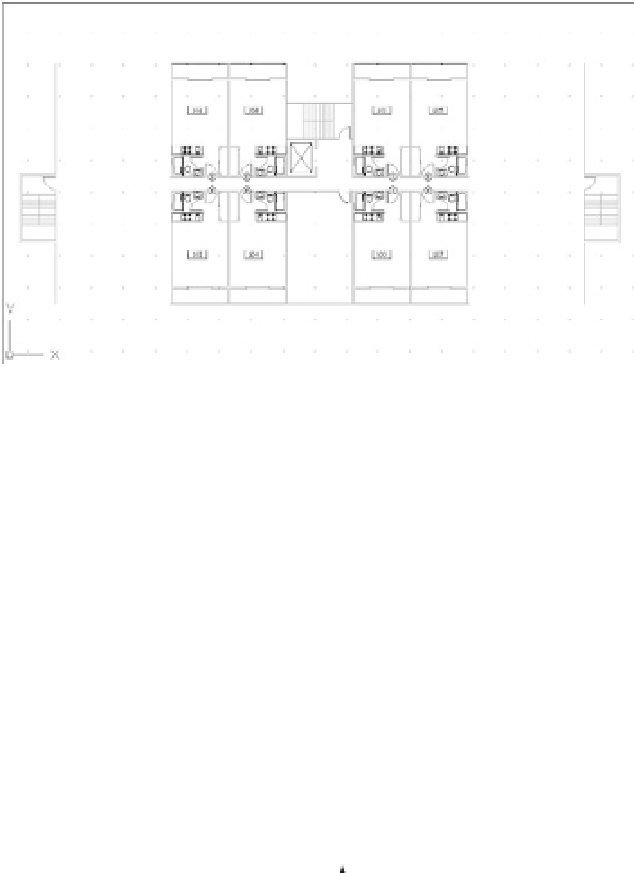
FIGURE 14.7
The Common file
with the revised
unit plan
7.
If the Notes layer is on, use the Layer pop-up list to turn it off.
8.
Erase all the items in the empty room across the hall from the lobby.
9.
Click the Insert tool on the Tool Sets palette again, and insert the utility room on the plan
(utility.dwg or utility-metric.dwg); see Figure 14.8.
FIGURE 14.8
The utility room
inserted
Add the Utility file.
10.
You may have to move the utility block into place so that the walls all line up.
11.
Save the Common file.
12.
Open the Xref-1 file. You see the utility room and the typical units in their new form.
Your drawing should look like the top image in Figure 14.9.
13.
Open Xref-2. You see that the utility room and typical units are updated in this file as
well. (See the bottom image in Figure 14.9.)