Graphics Programs Reference
In-Depth Information
4.
At the Specify opposite corner: prompt, enter
12,9
(
30.5,22.8
for metric users). This
causes your view to zoom in to a location near the origin of the drawing in a 12˝-
×
-9˝ area.
You zoom in to this small area because you'll draw the block at its paper size of ¼˝ (or 0.6 cm
for metric users). Now you're ready to create the block and attribute. You'll start by drawing the
graphics of the block, and then you'll add the attribute definition:
1.
Draw a circle with its center at coordinate 7,5 (15,11 for metric users) and a diameter of
0.25 (0.6 for metric users). The circle is automatically placed on layer 0, which is the cur-
rent layer. Remember that objects in a block on layer 0 take on the color and linetype
assignment of the layer on which the block is inserted.
2.
Zoom in to the circle so it's about the same size as that shown in Figure 12.2.
3.
If the circle looks faceted, type
RE
↵ to regenerate your drawing.
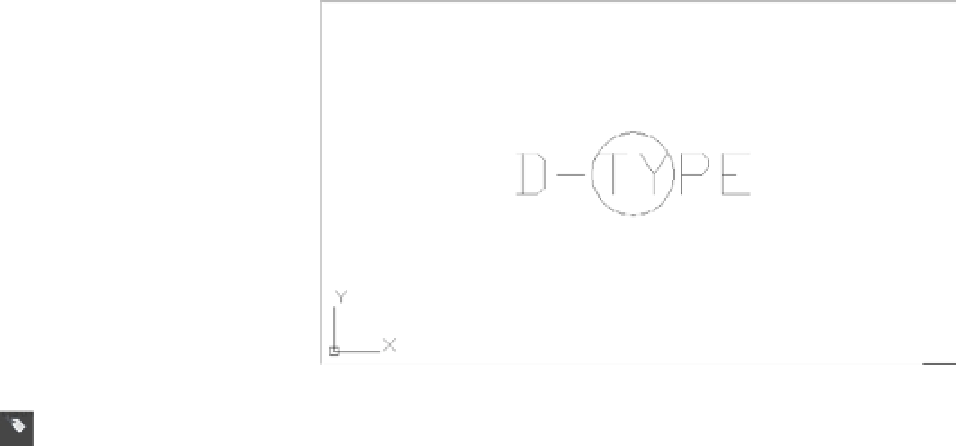
FIGURE 12.2
The attribute dei-
nition inserted in
the circle
4.
Click the Define Attributes tool from the Tool Sets palette, or type
ATT
↵ to open the
Attribute Definition dialog box (Figure 12.3).
5.
In the Attribute group, click the Tag input box, and enter
D -T Y PE
.
FIGURE 12.3
The Attribute Defi-
nition dialog box